Introduction

Today, computation is deeply woven into our everyday life. We have become accustomed to using and consuming technology constantly and through our daily needs and habits. At the same time, often we are not as involved in the active development of these technologies itself. Through creative coding and the creative use of code, you as a designer can prepare yourself to contribute and make a change.


Eye cry! is a documentation of my process in Computation in Design 2 featuring works from 4 different workshops. As someone who is unfamiliar with code, this was a difficult task. Hence the title of this website, eye cry! (… literally? kidding!)

Still, these projects were as fun as they were confusing and I hope you’ll enjoy reading about my journey!
Workshops 1–4

Over the semester I participated in 4 different workshops covering topics such as Creative Coding, Projection Mapping, Making, and Physical Computing. Here you will find some of the process documentation and deliverables that were created in small teams of up to 3 people or individually.

01 Coding
Fleur 'n Eggs

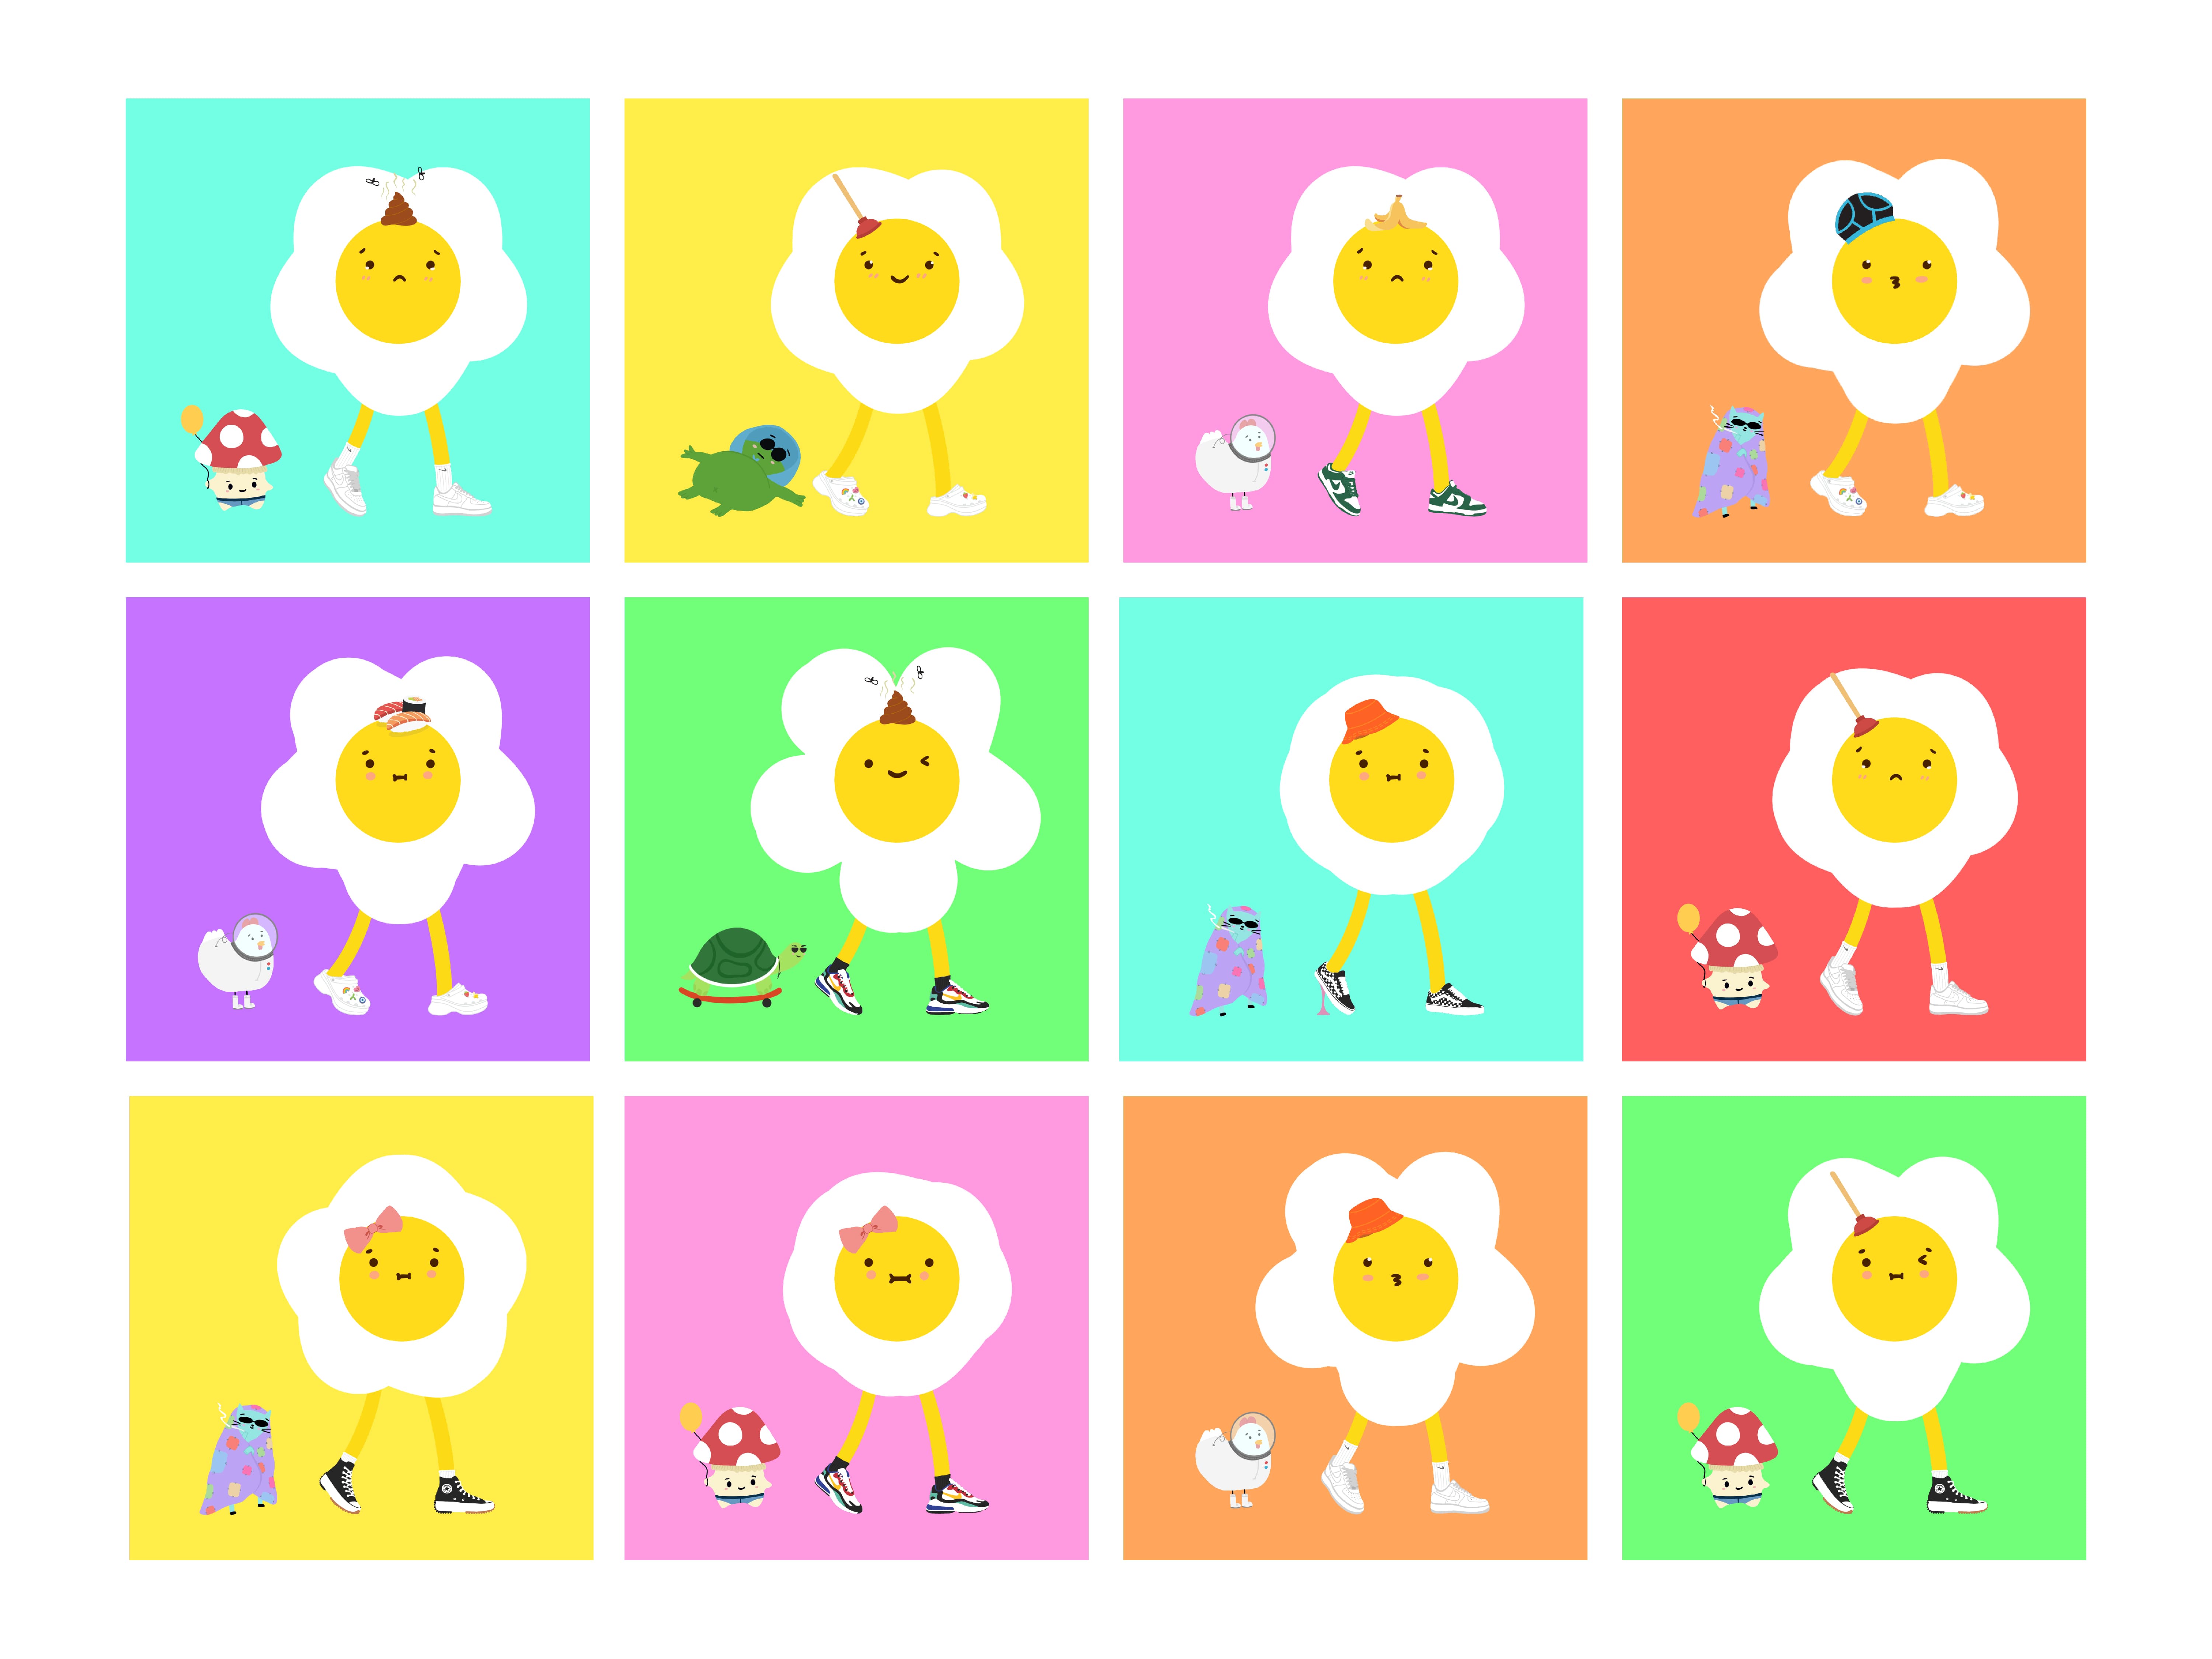
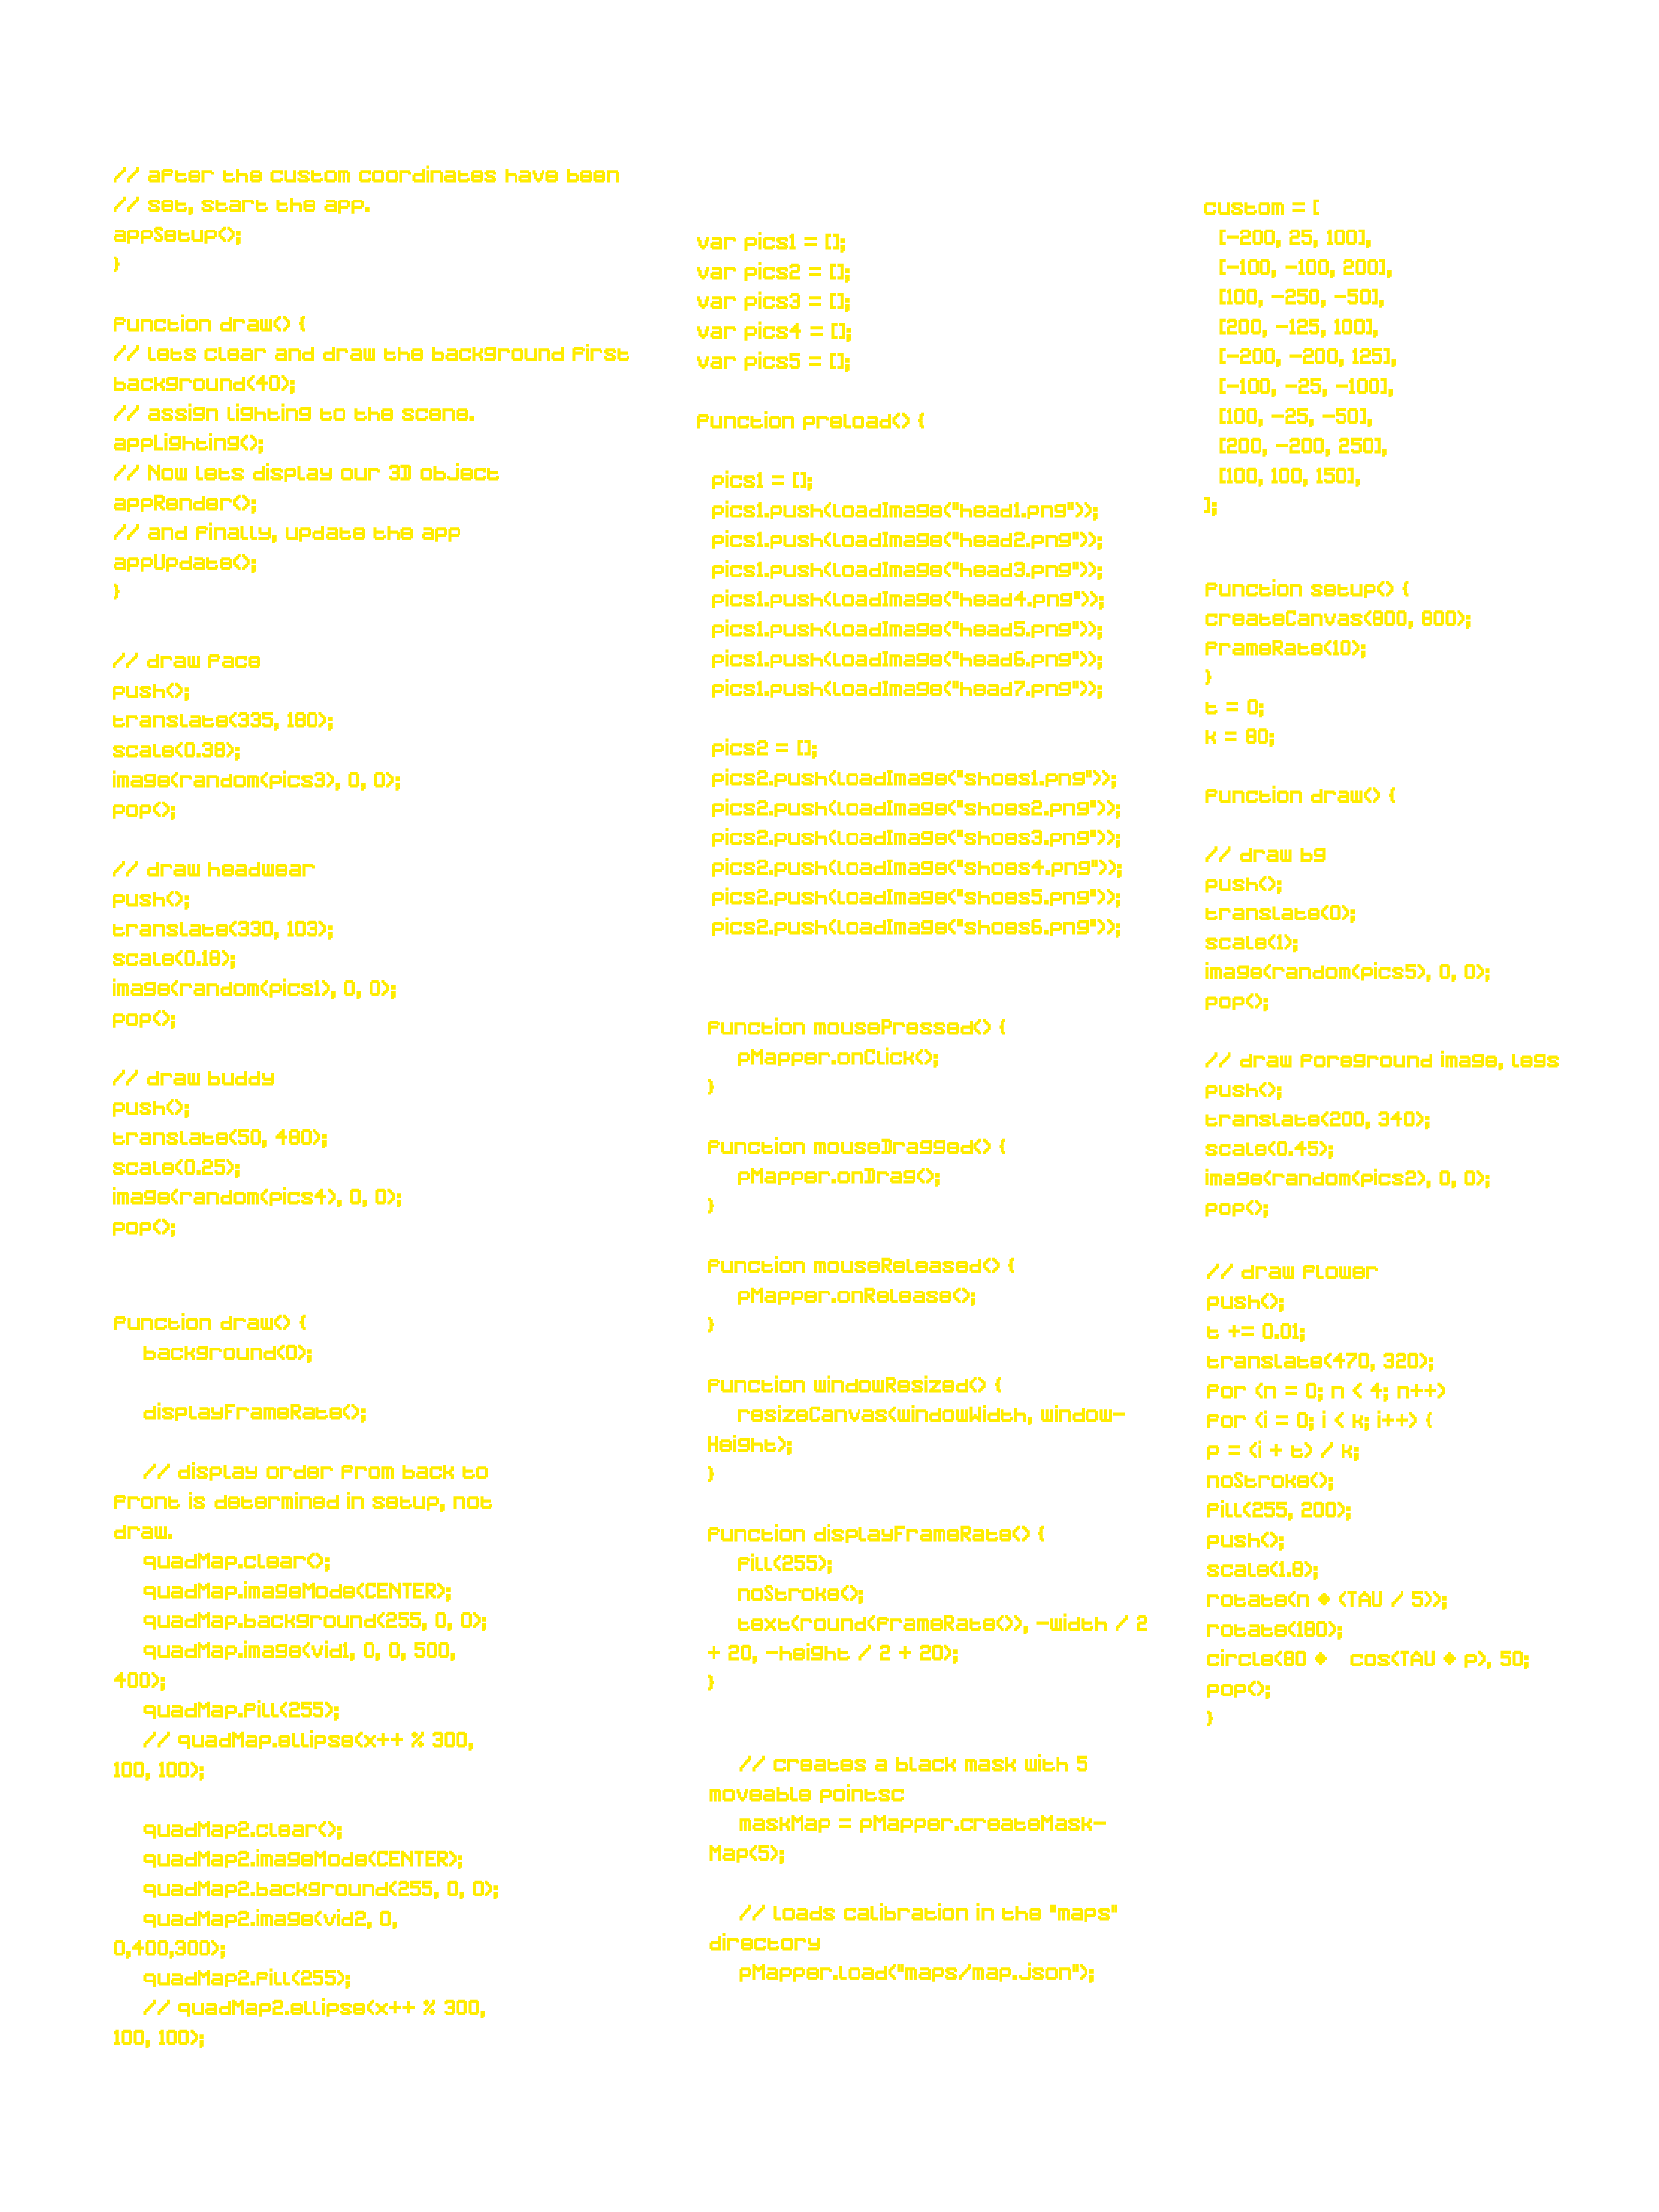
Fleur ’n Eggs is a series of derivative art made in p5js using an image generator code.

In the recents years, we see a rising trend in owning a Non-Fungible Token (NFT). NFTs are digital assets that can represent real-world objects like art, music, in-game items and videos. They are usually one of kind and in simpler terms, a digital collector’s item.

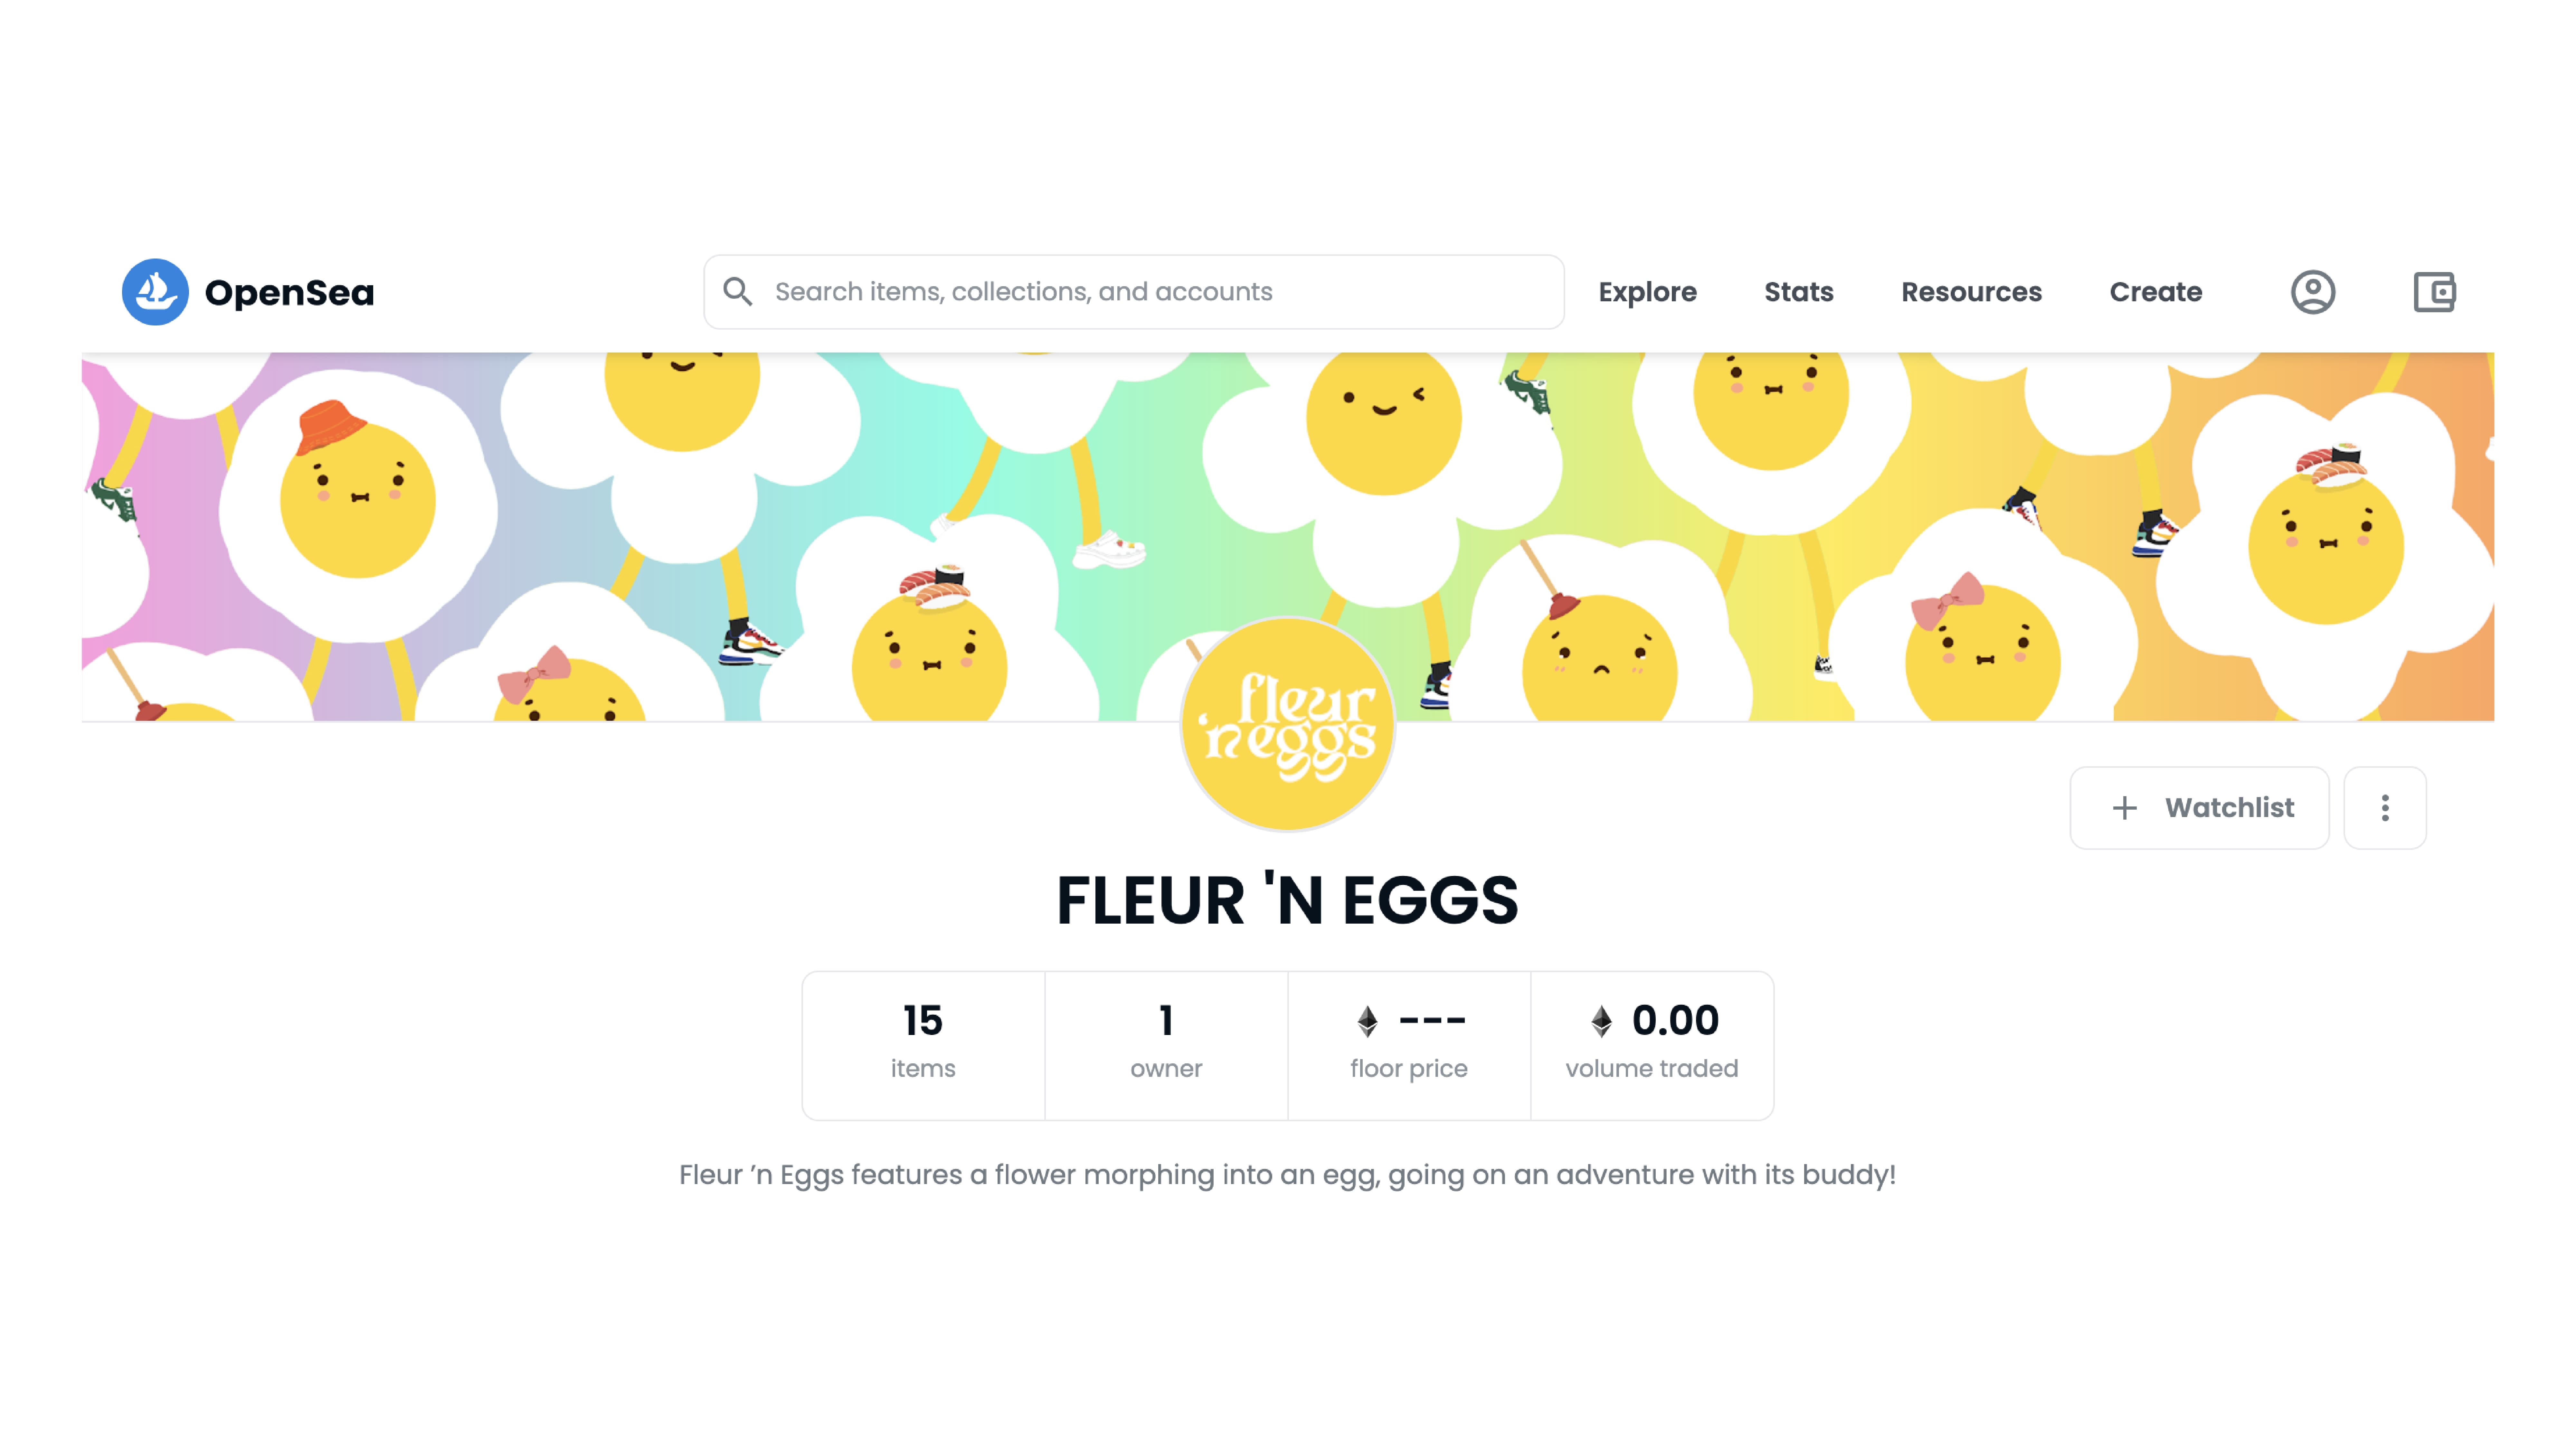
Fleur ’n Eggs features a flower morphing into an egg, going on an adventure with its buddy. Each frame is a unique combination of the different elements. Fleur ’n Egg is also a word play on ‘flour and eggs’.

You can visit https://opensea.io/collection/fleur-n-eggs to view the full collection


Coding was one of the tougher workshops for me as we picked the brief that required the most code. Making our own NFT stood out to us so that was why we wanted to learn the image generator code. We first brainstormed for a NFT idea and then did some research to see what was trending. The hard part was when we had to turn our idea into code.

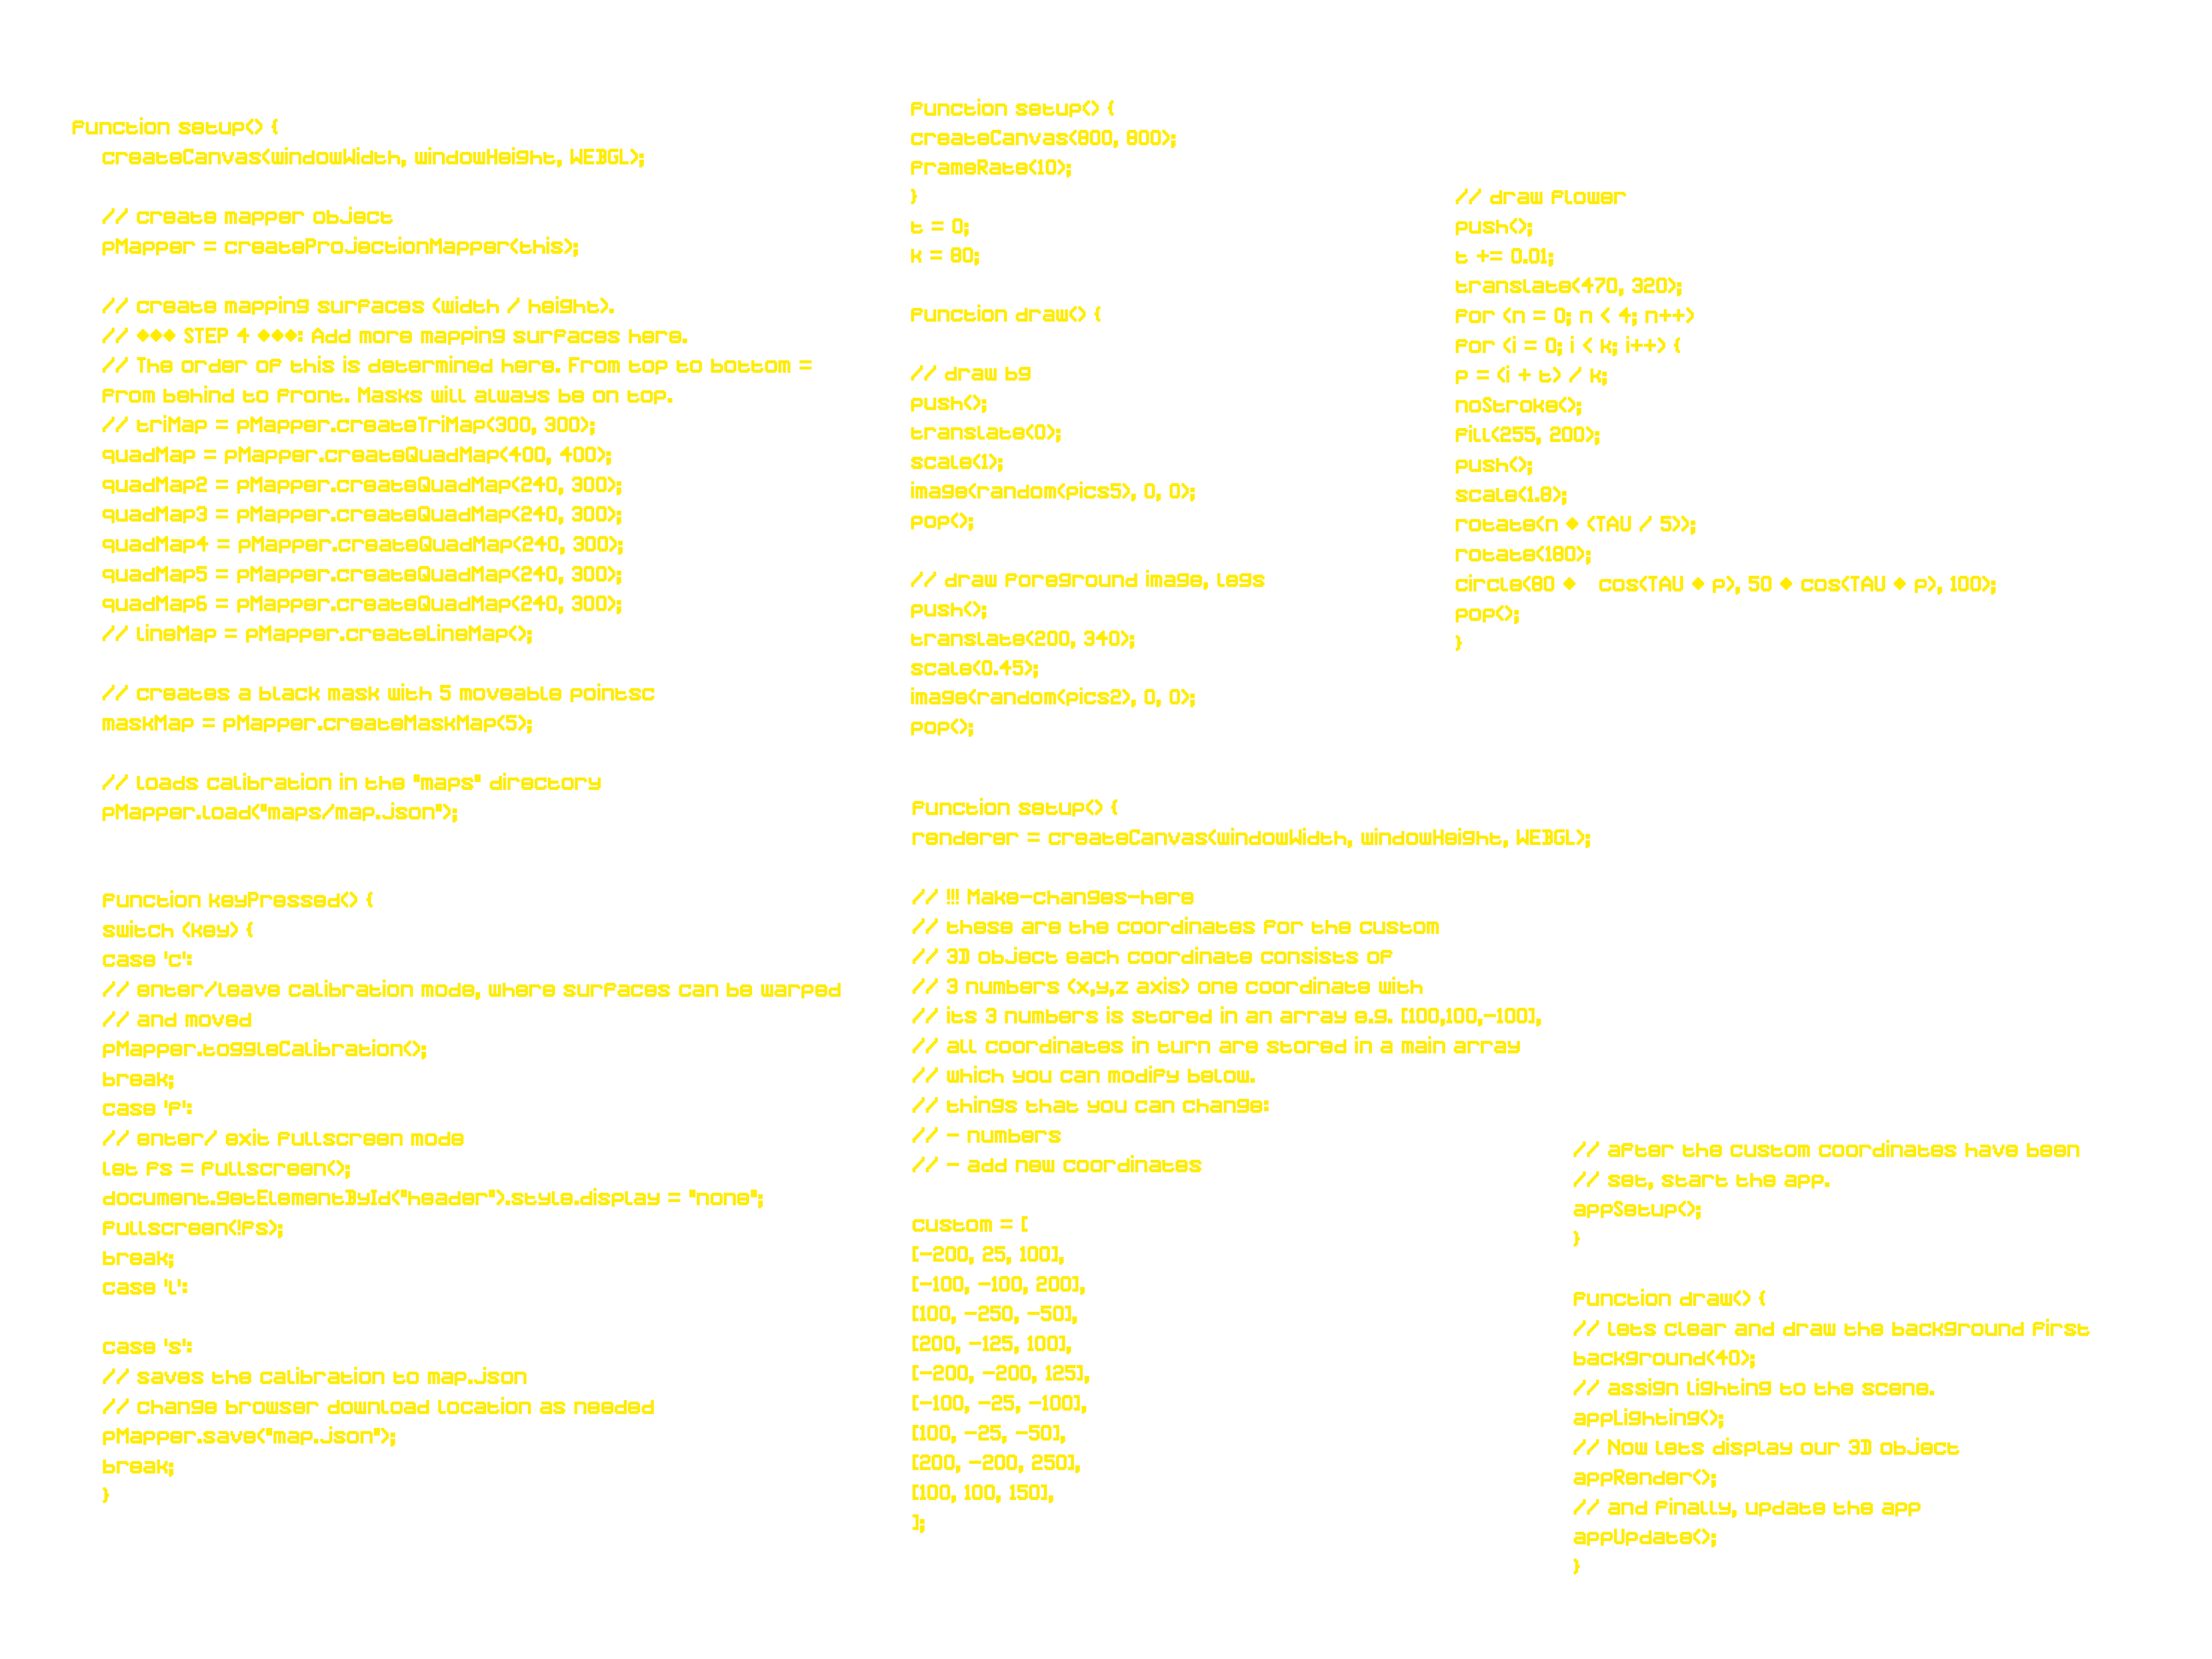
After much trial and errors (and a lot of help from Andreas, thank u bless u!), we managed to write our own code! Using different PNGs for each section of the NFT, we churned out a series of images for Fleur ’n Eggs.

o2 Screens
Eat your Veggies!

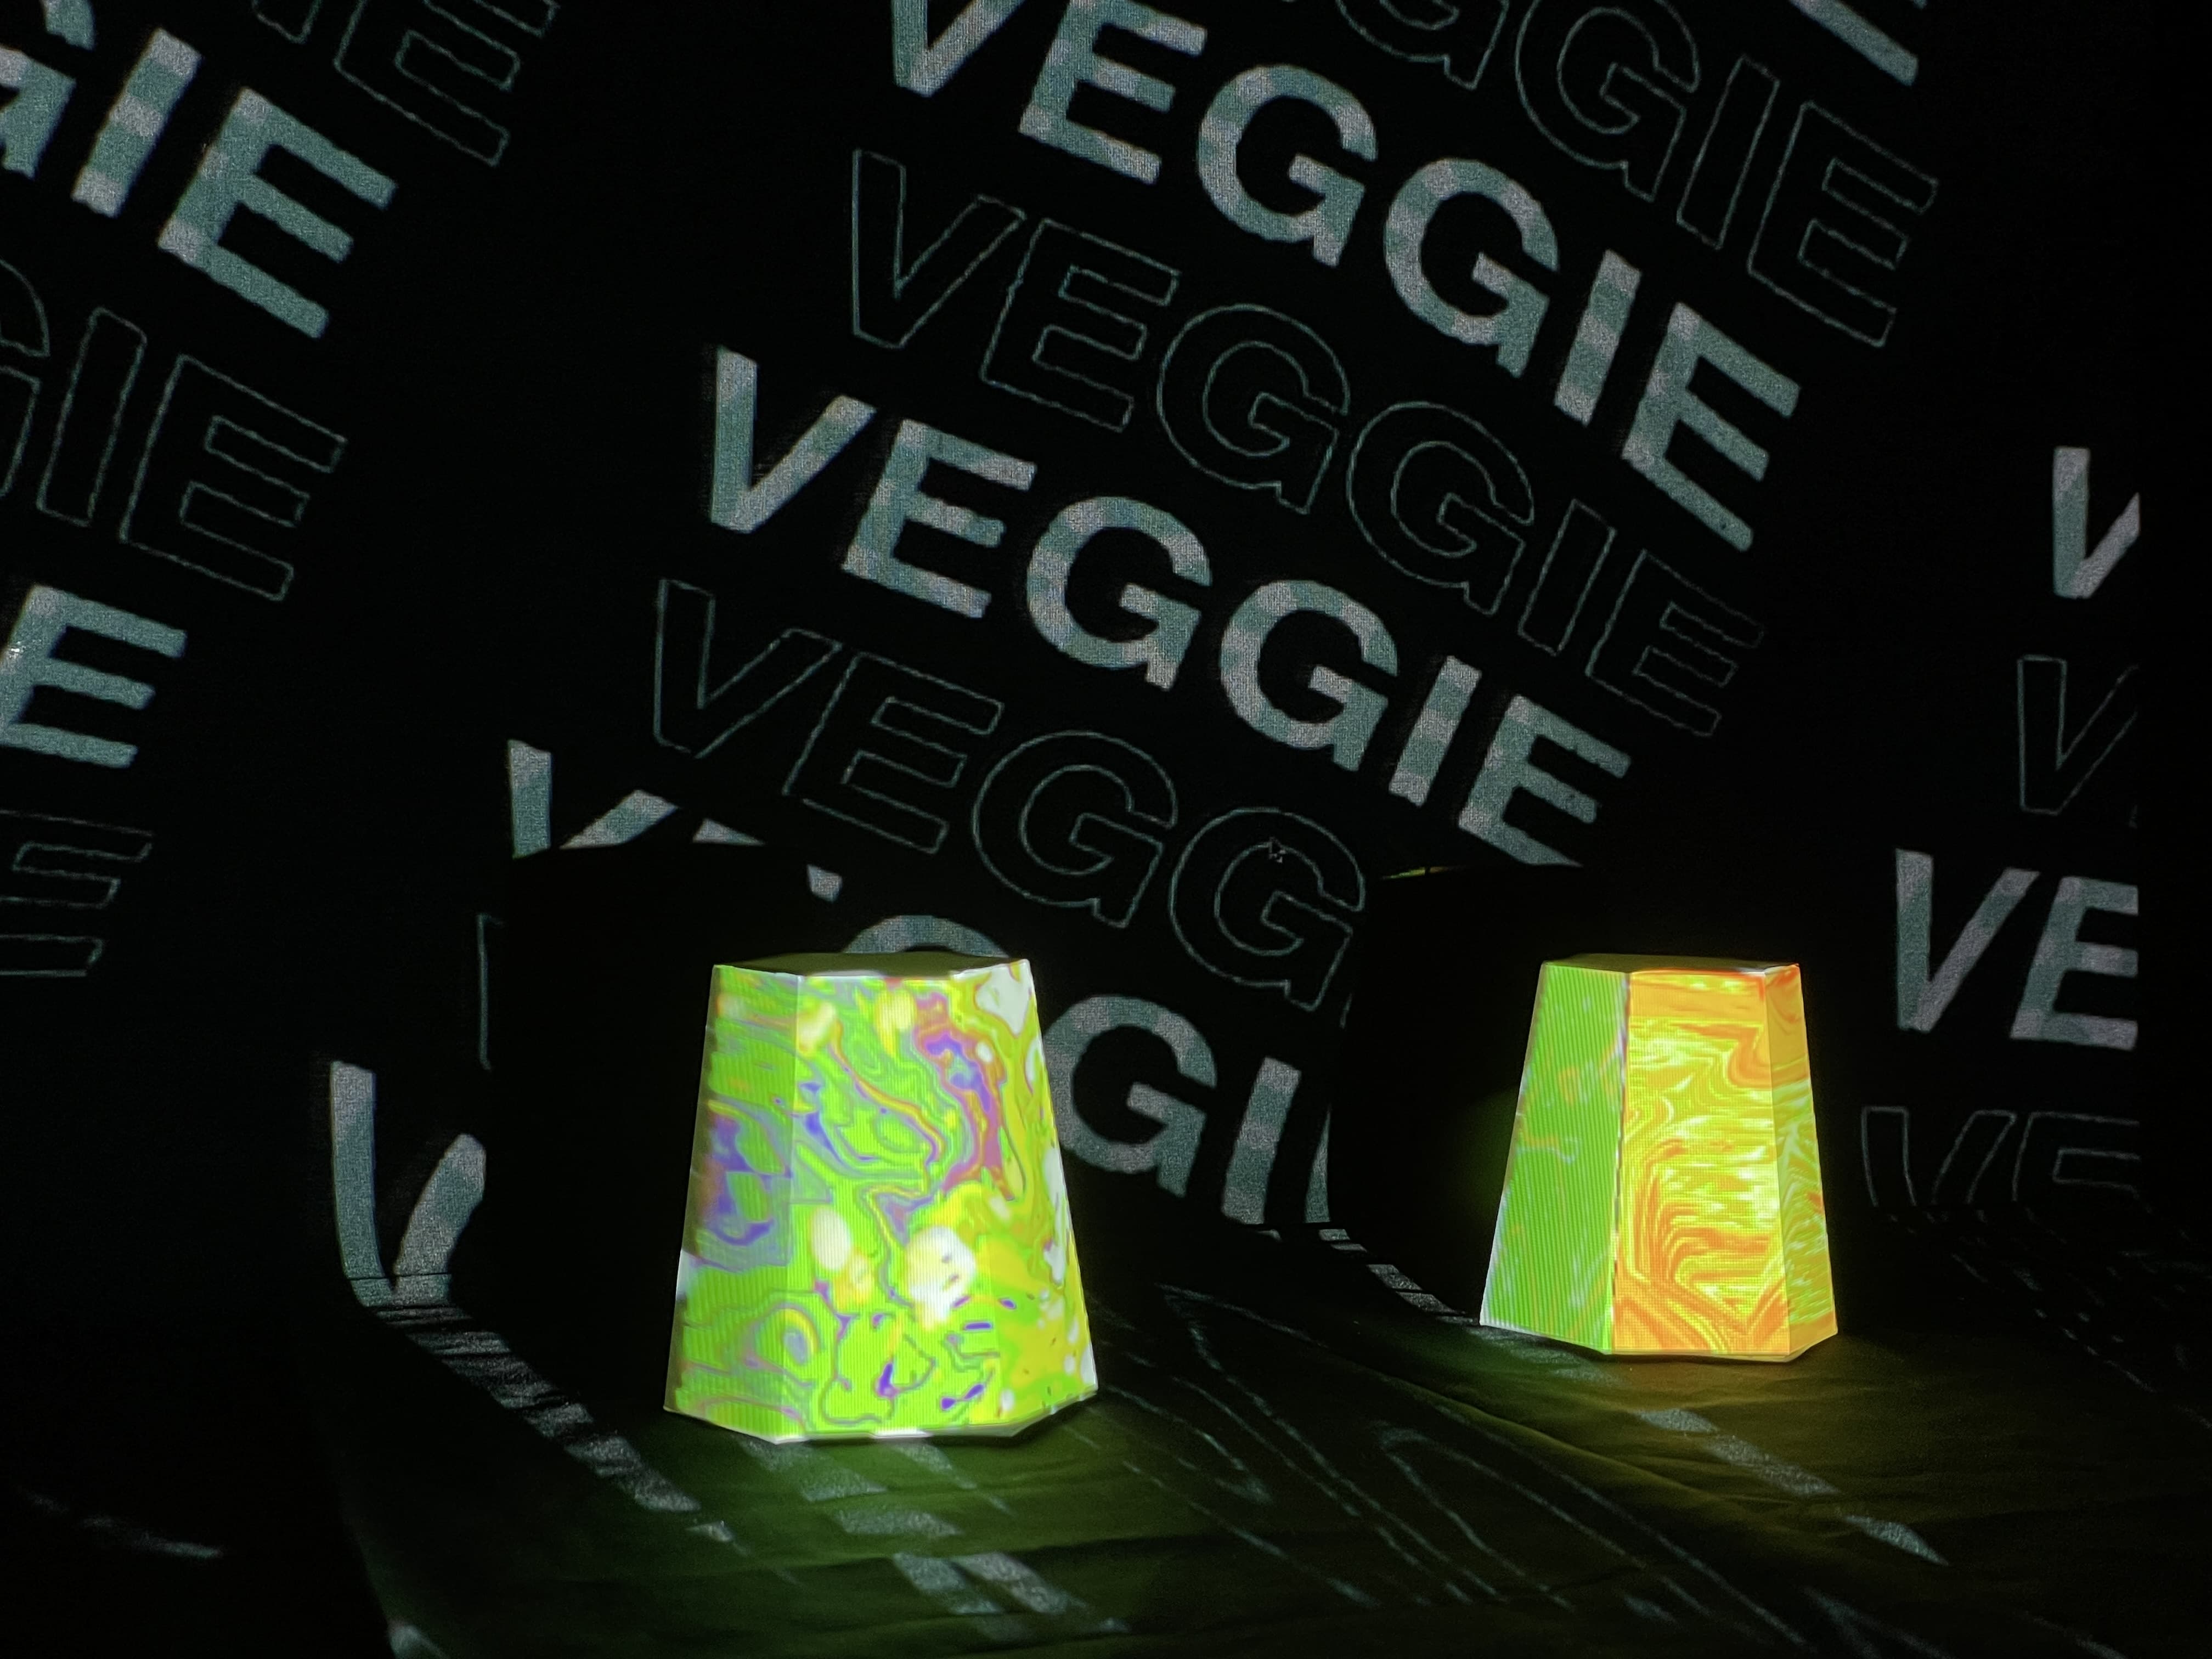
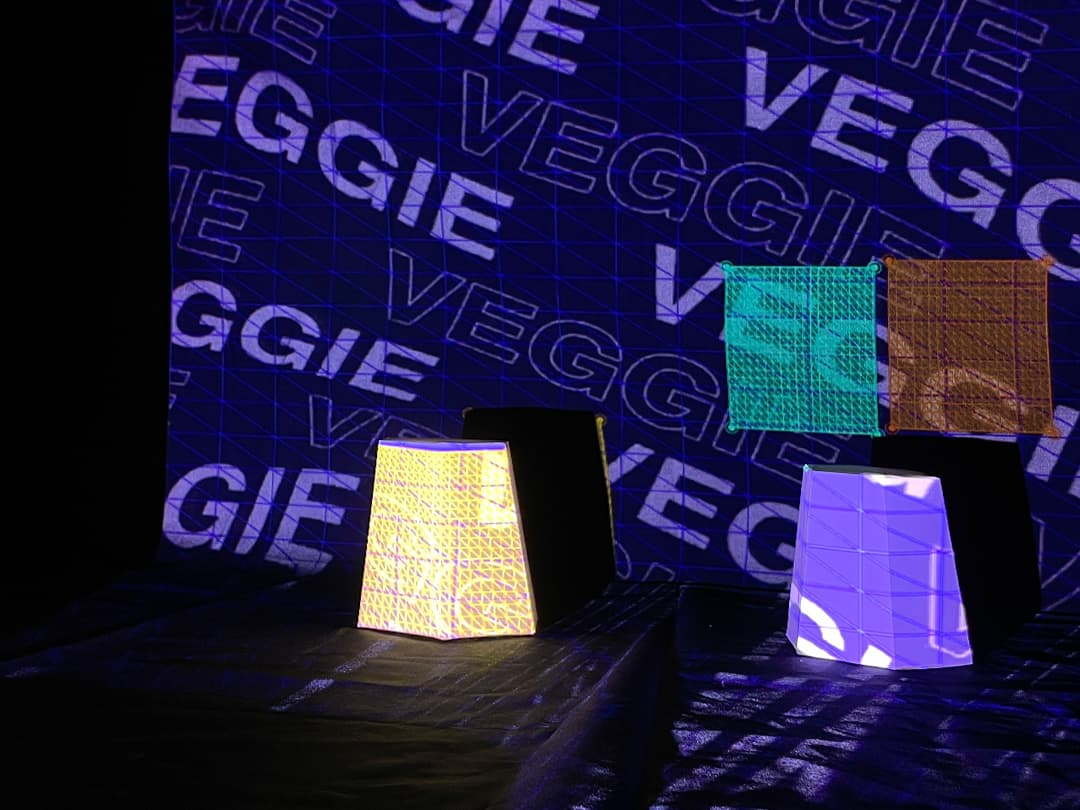
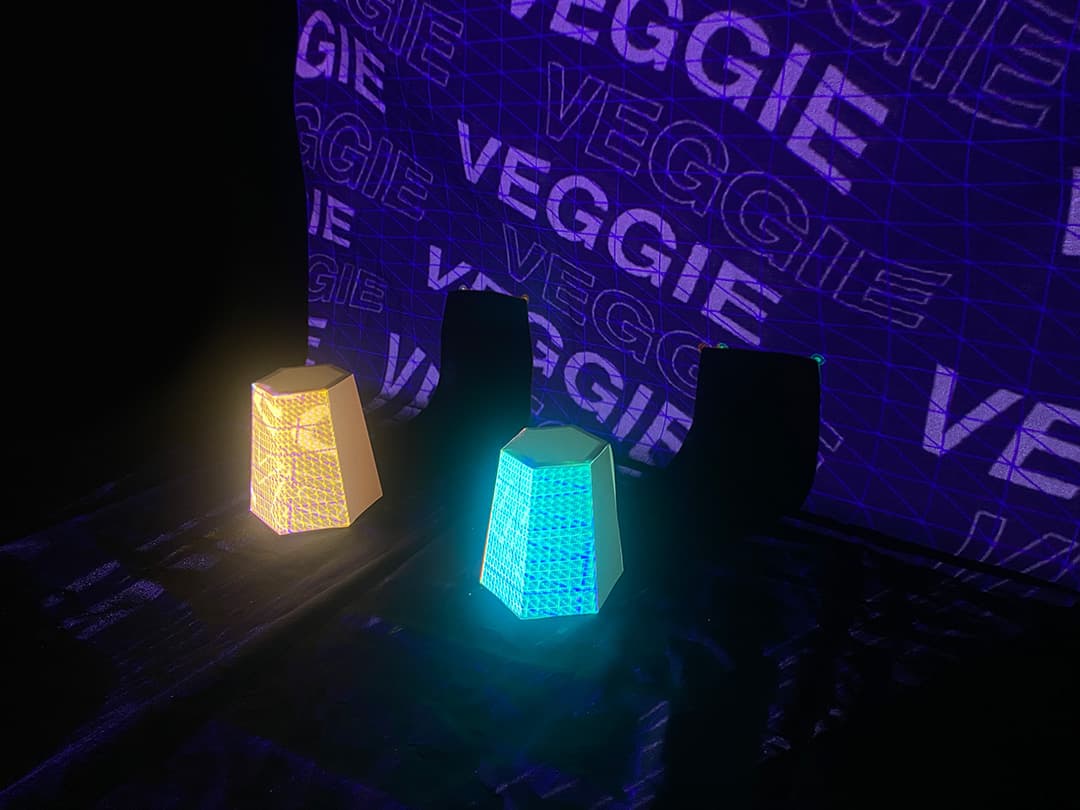
Eat your Veggies! is creative coding artwork presented through projection mapping. It is a light-hearted and fun piece that features abstract forms of vegetables like carrot, cabbage and corn.

A total of three vegetable clips were shone onto two 3D paper models against a kinetic typography clip repeating the word ‘veggie’. Black and white text were chosen to contrast the other brightly colour clips.

Through ‘Eat your Veggies!’, we hope to bring about some amusement and encourage everyone to continue eating your veggies!


Screens was a mesmerising workshop showing the possibilities projection mapping could bring. I really enjoyed myself when coming up with Eat your Veggies! to calibrating using code. We thought of angling it in a humorous way after the ‘eat your vegetablesss’ meme popped into our heads. It was cute to see that we were able to turn a meme into something informative and pretty.

The lessons were not hard to follow as we had a template to work with already so a big bulk of it was making the abstract video and calibrating it to our paper models.

03 Making
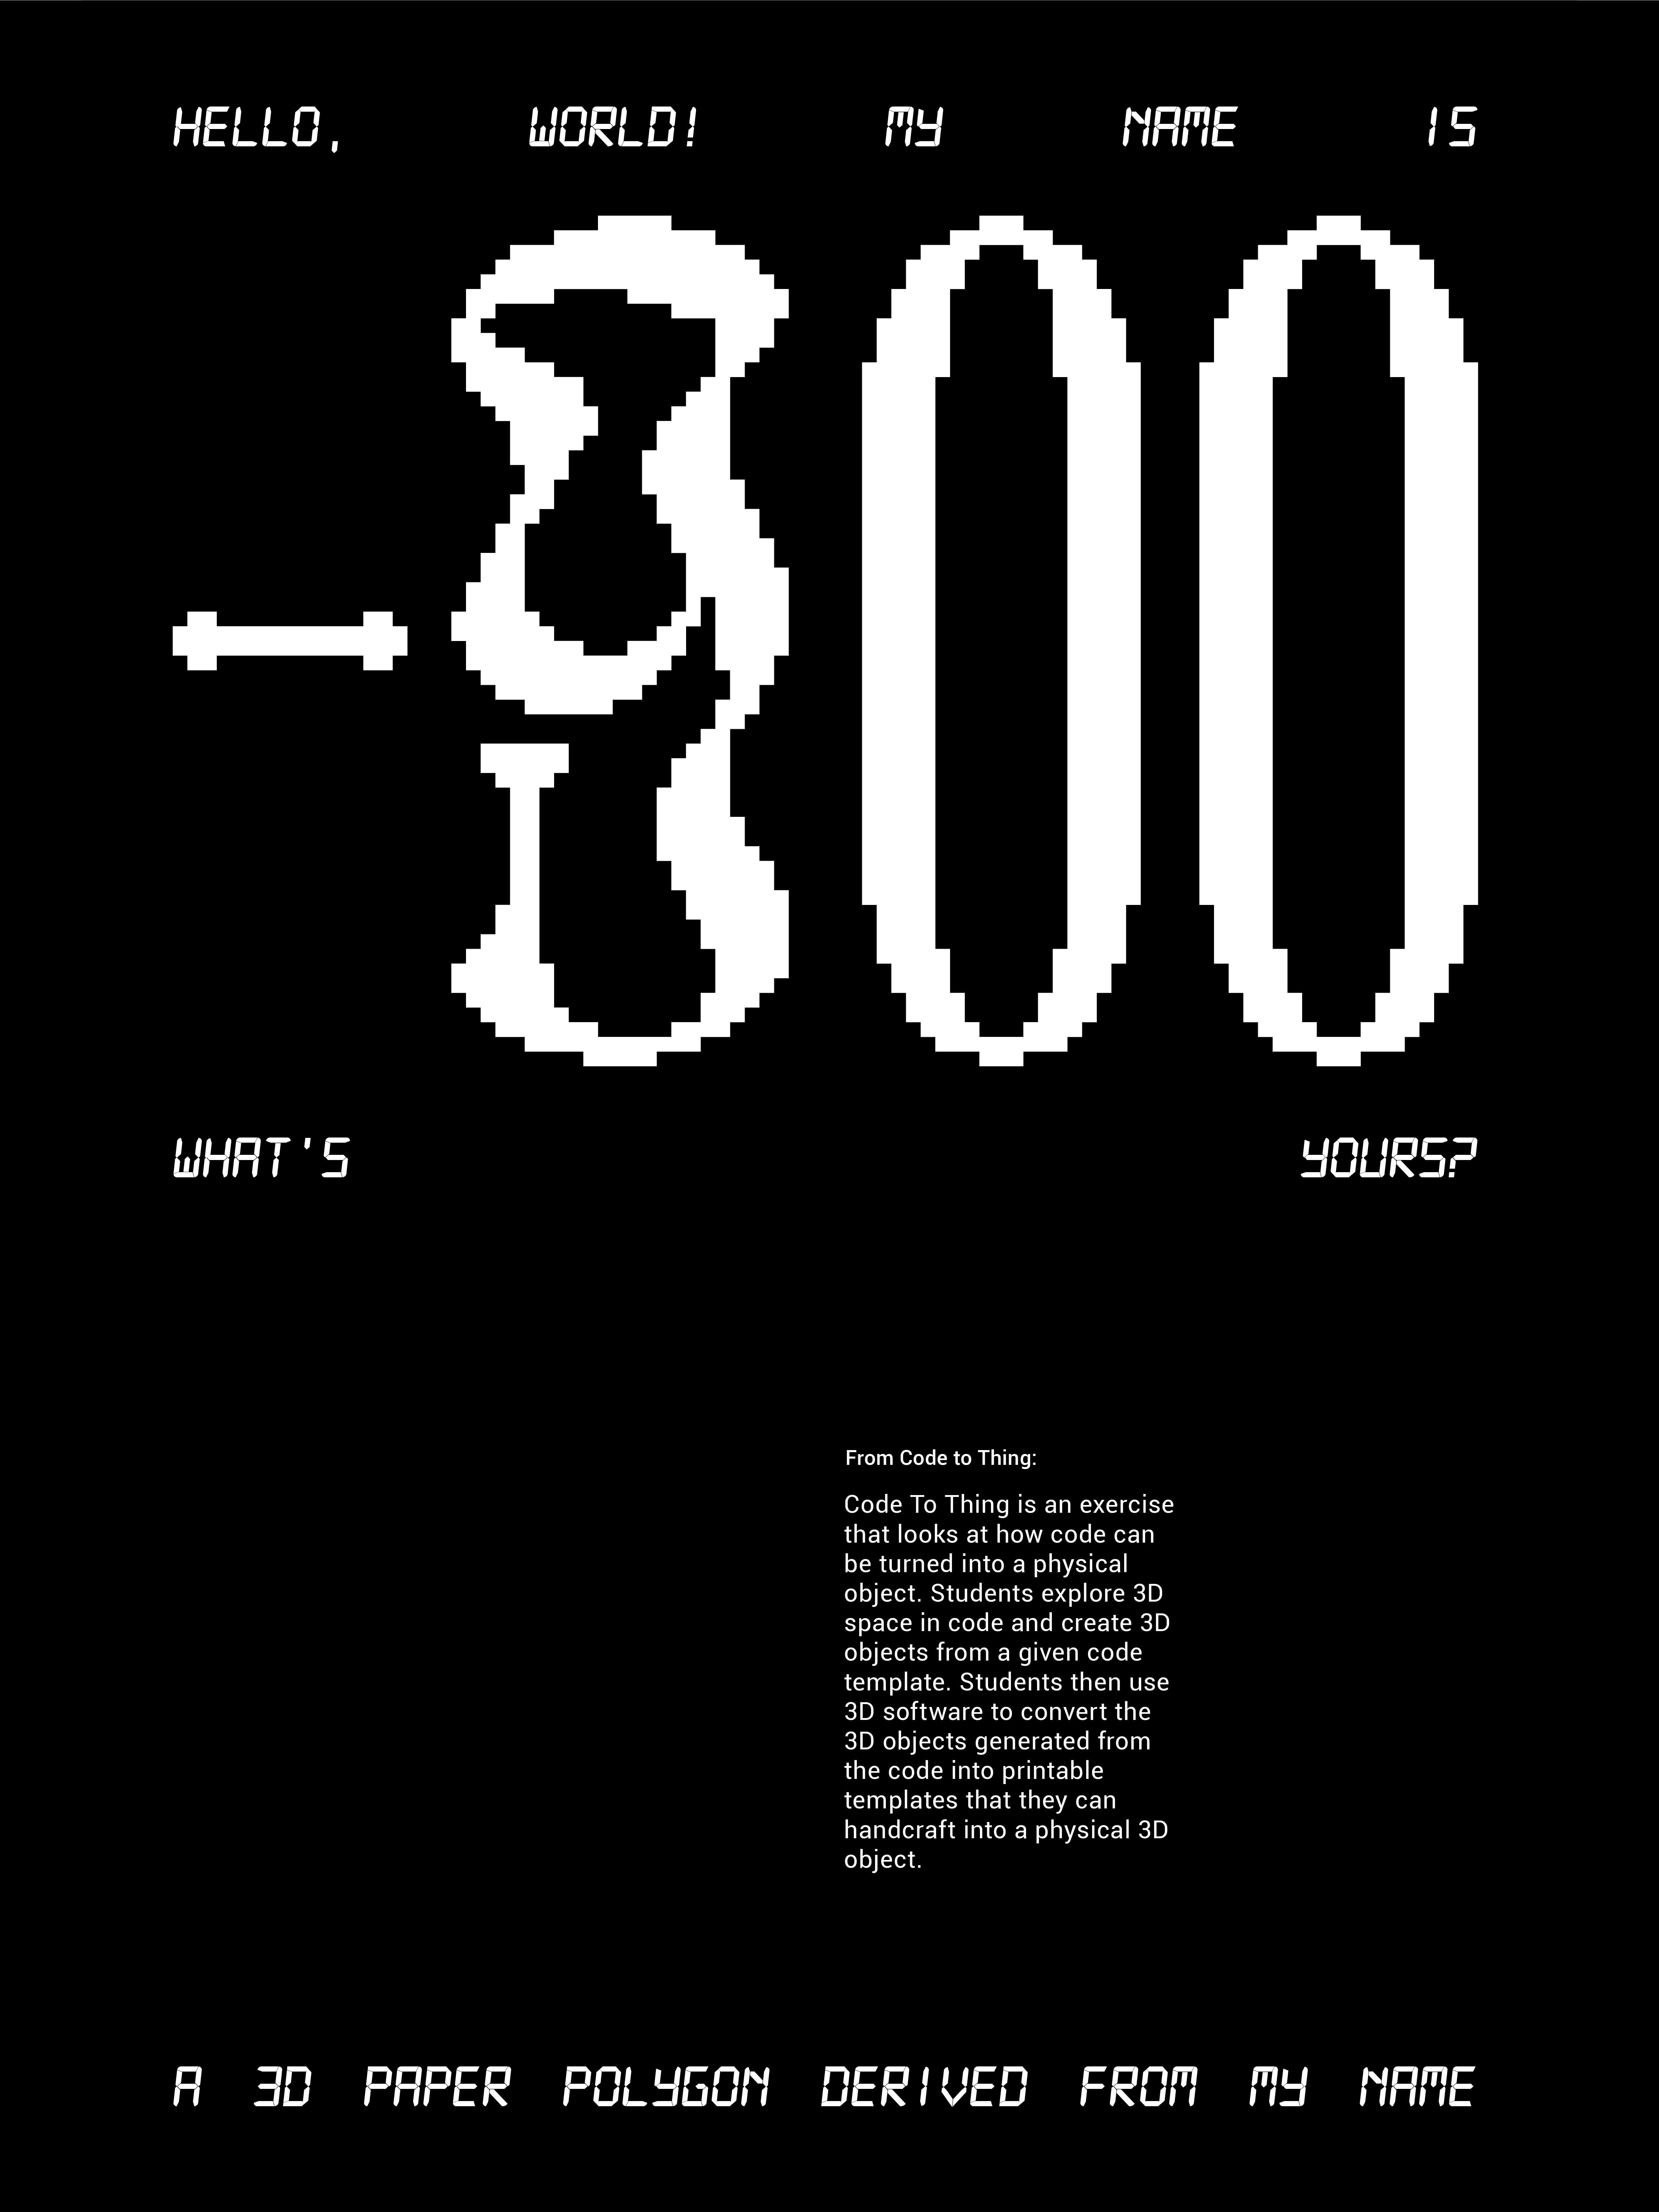
Hello, World! My Name is -900

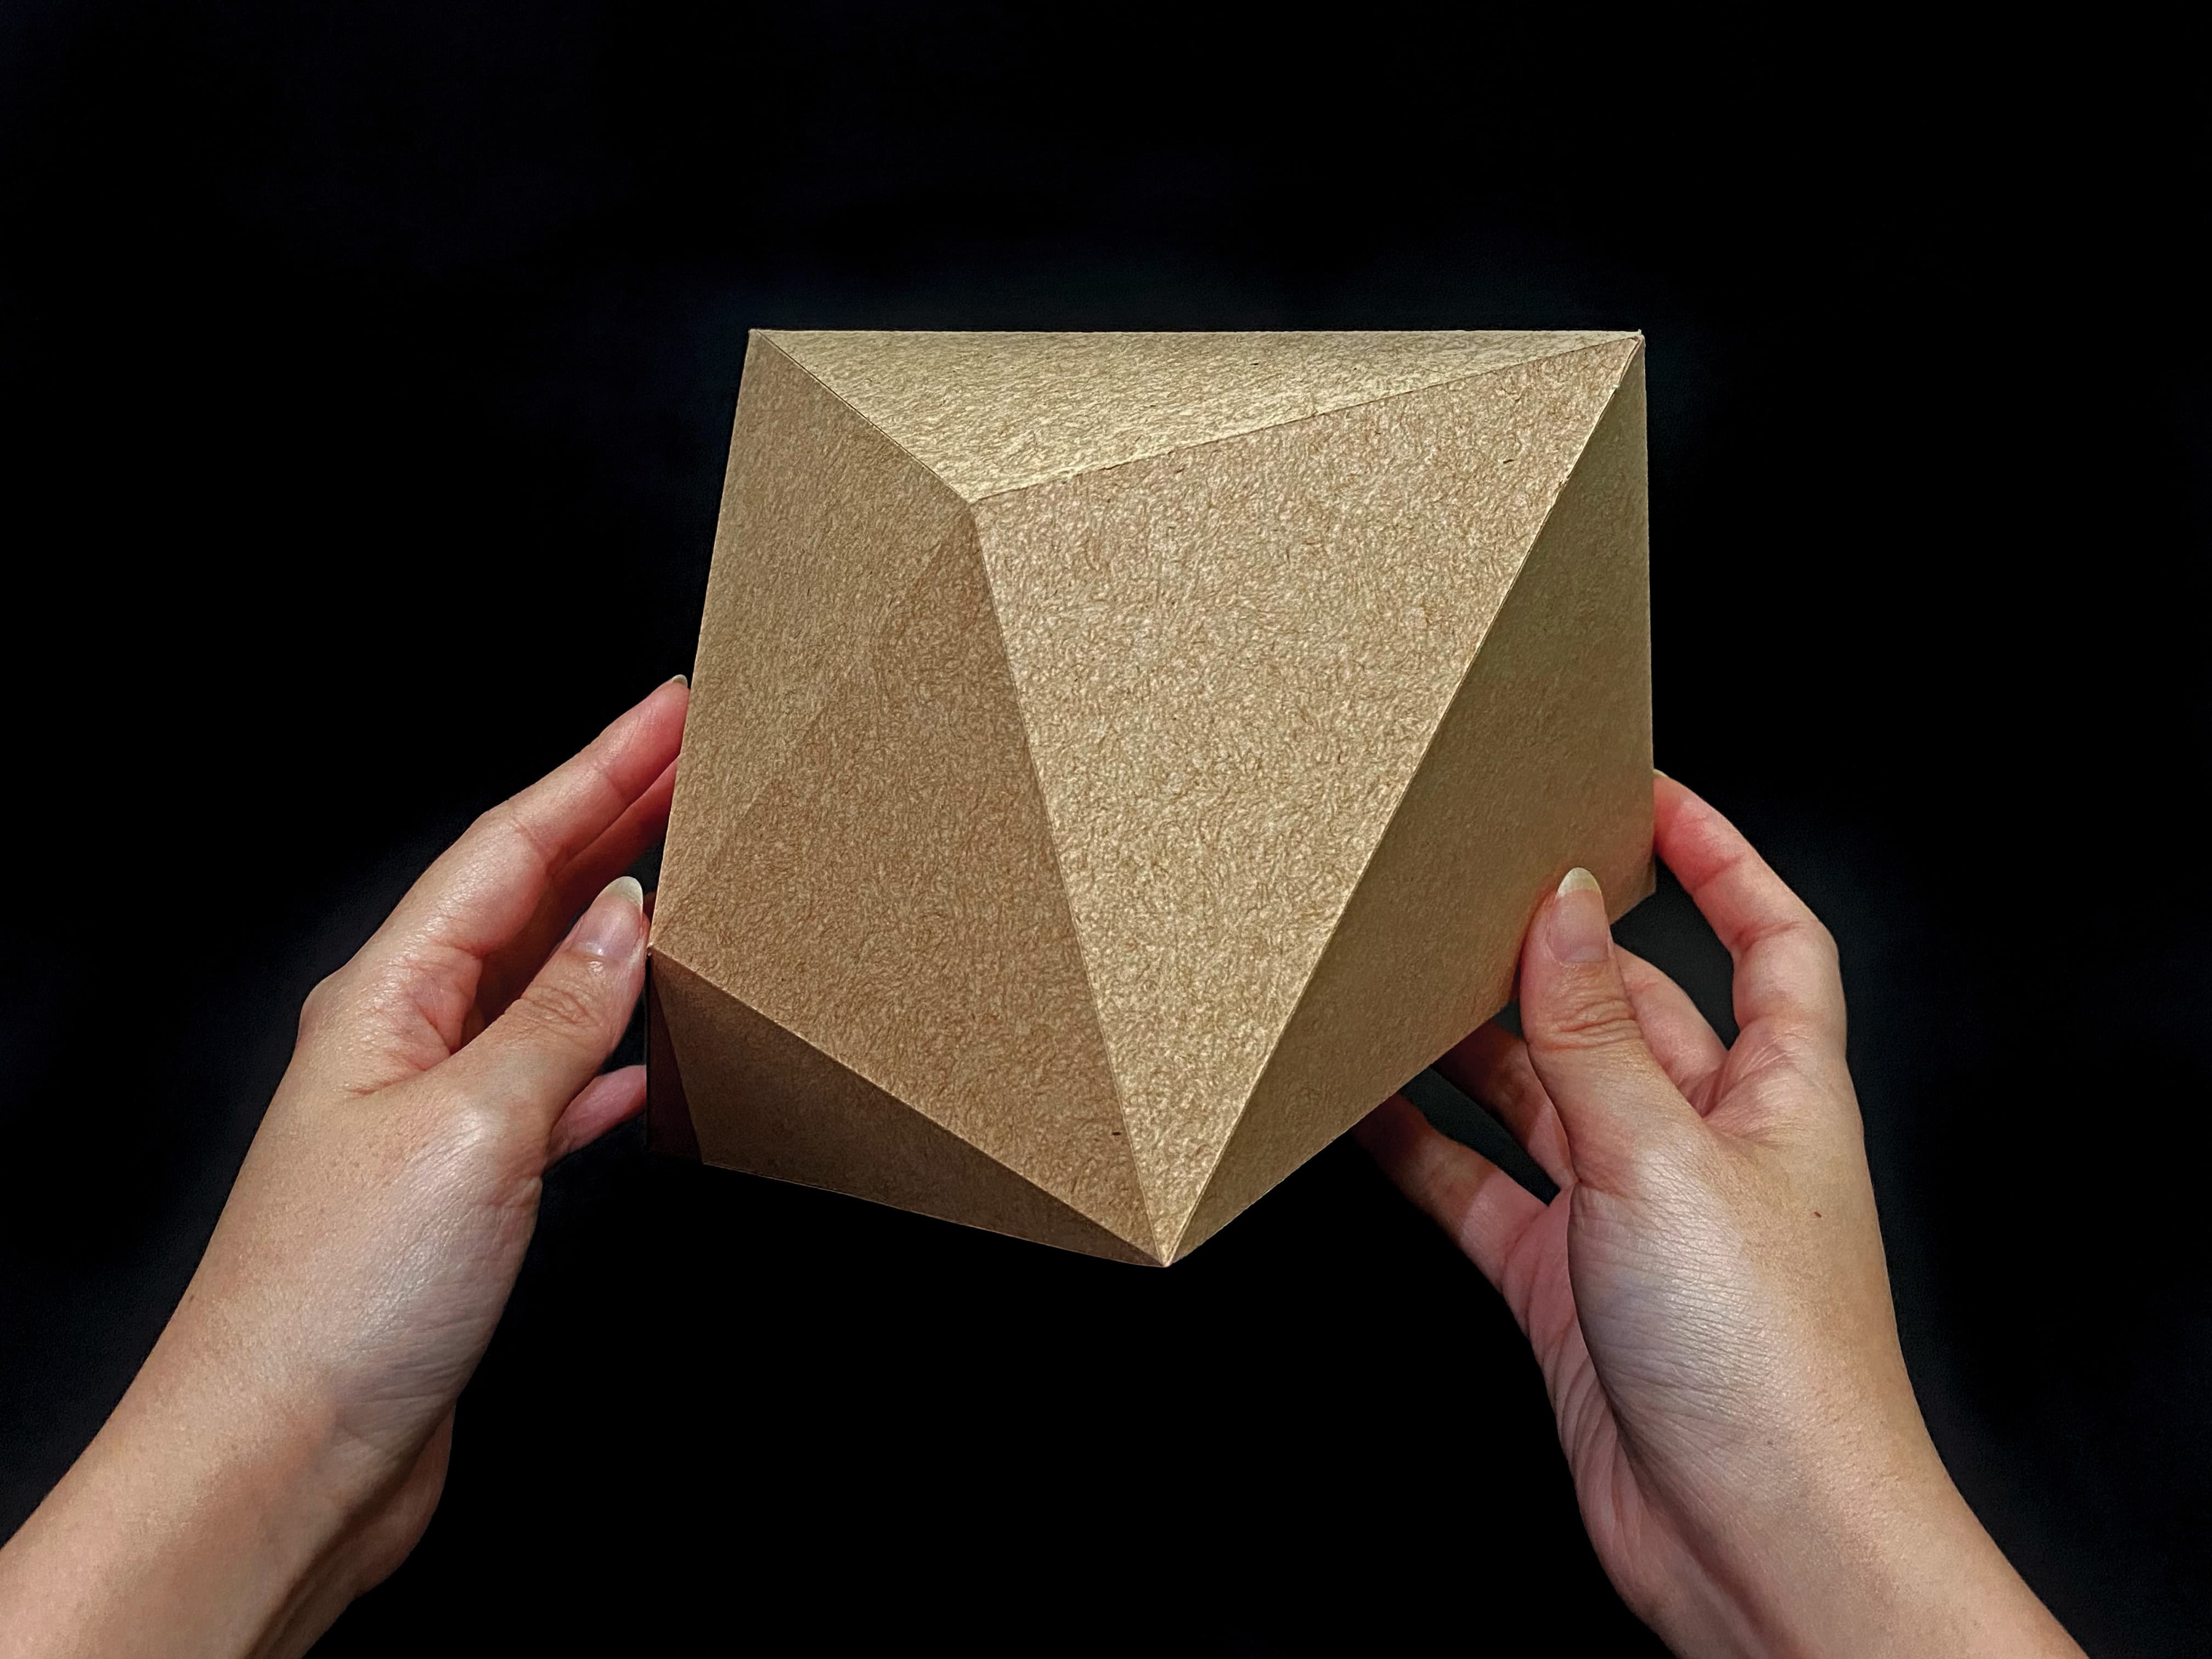
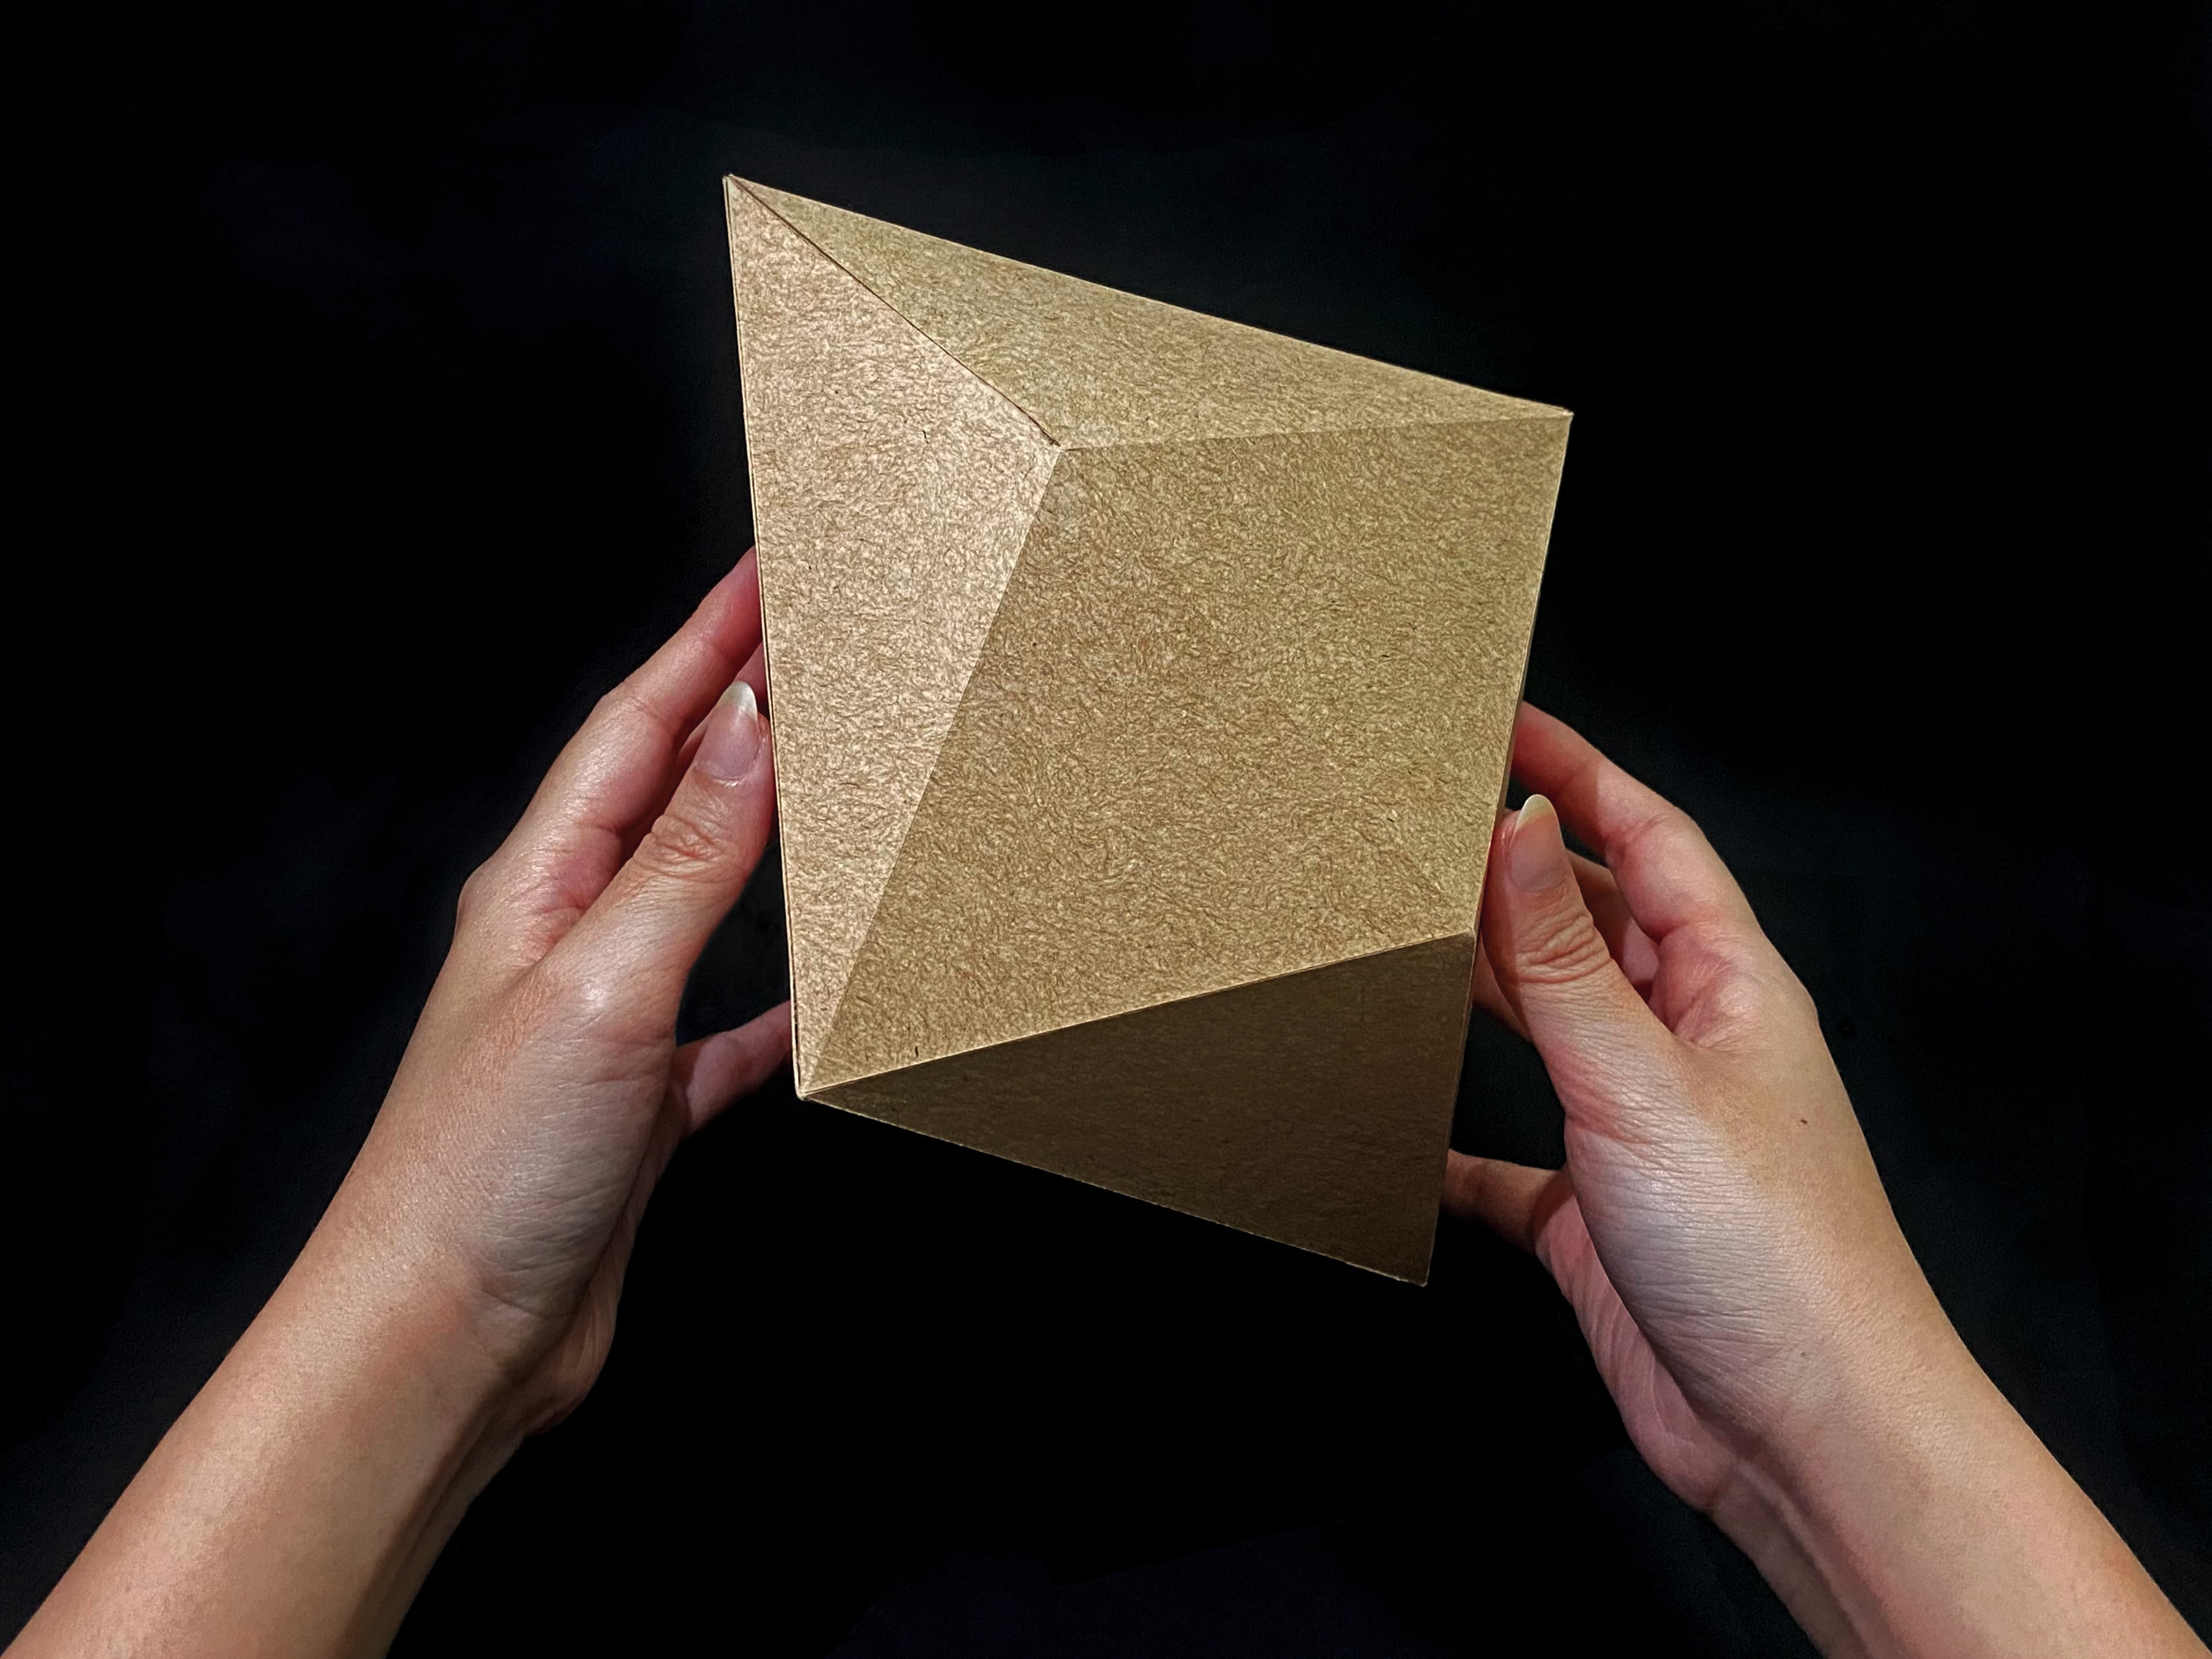
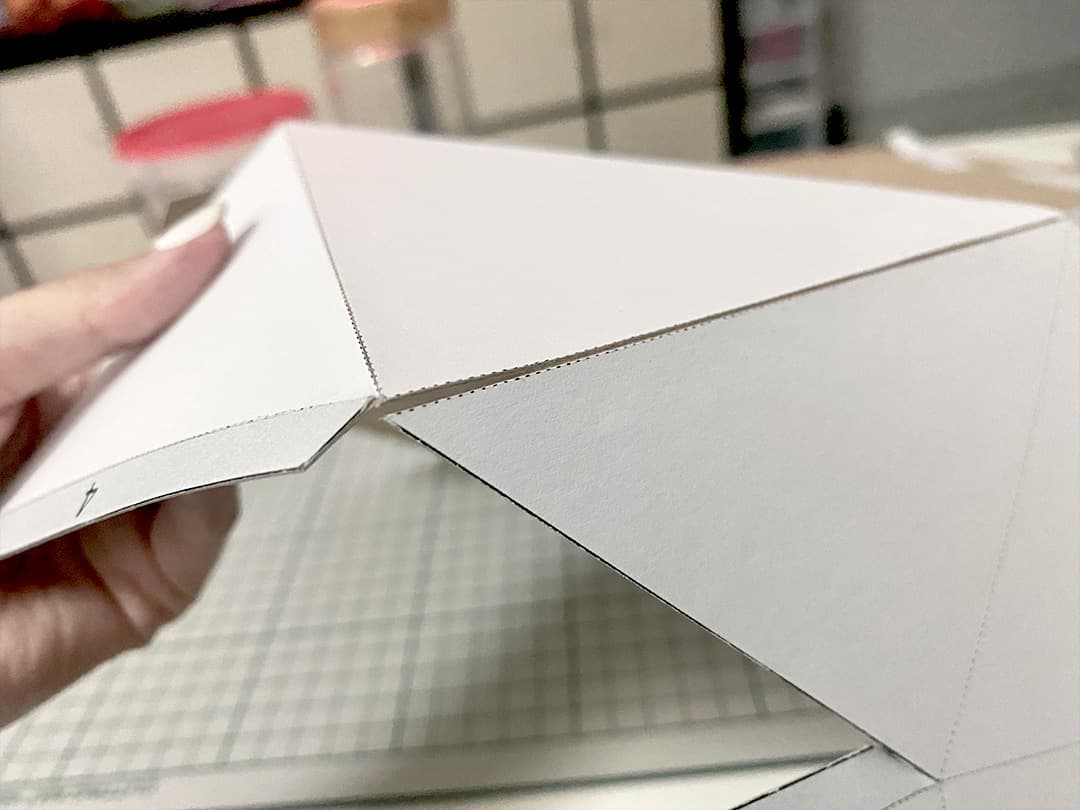
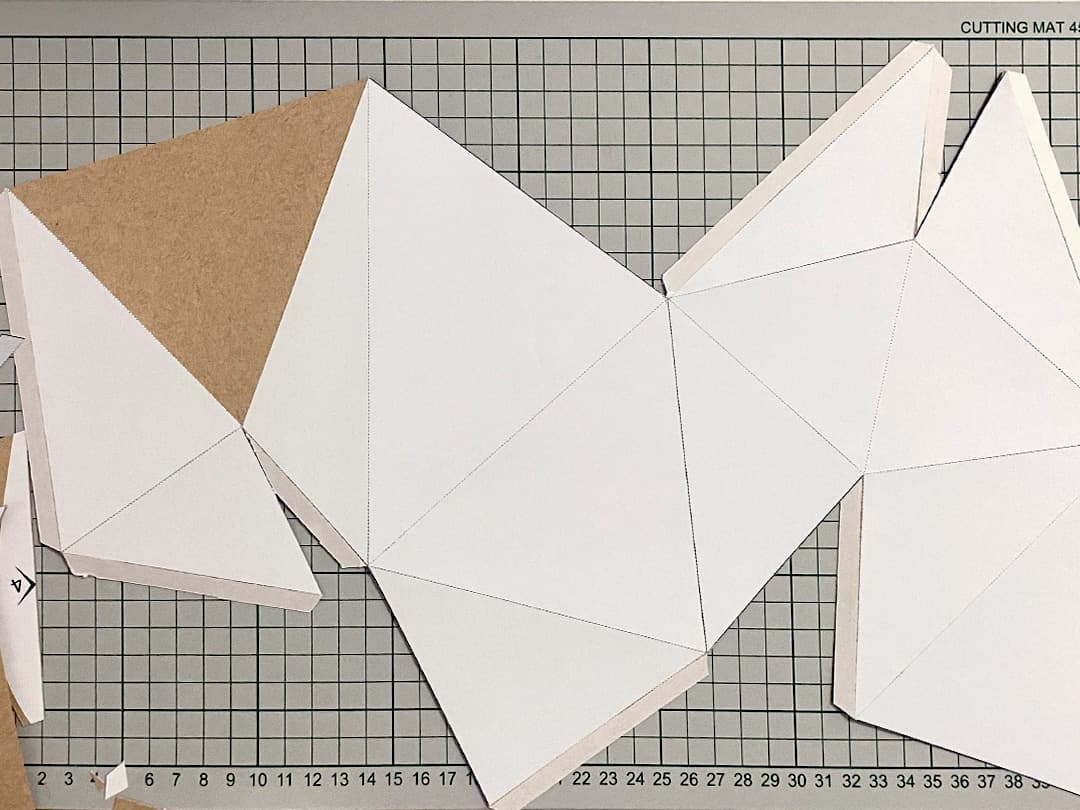
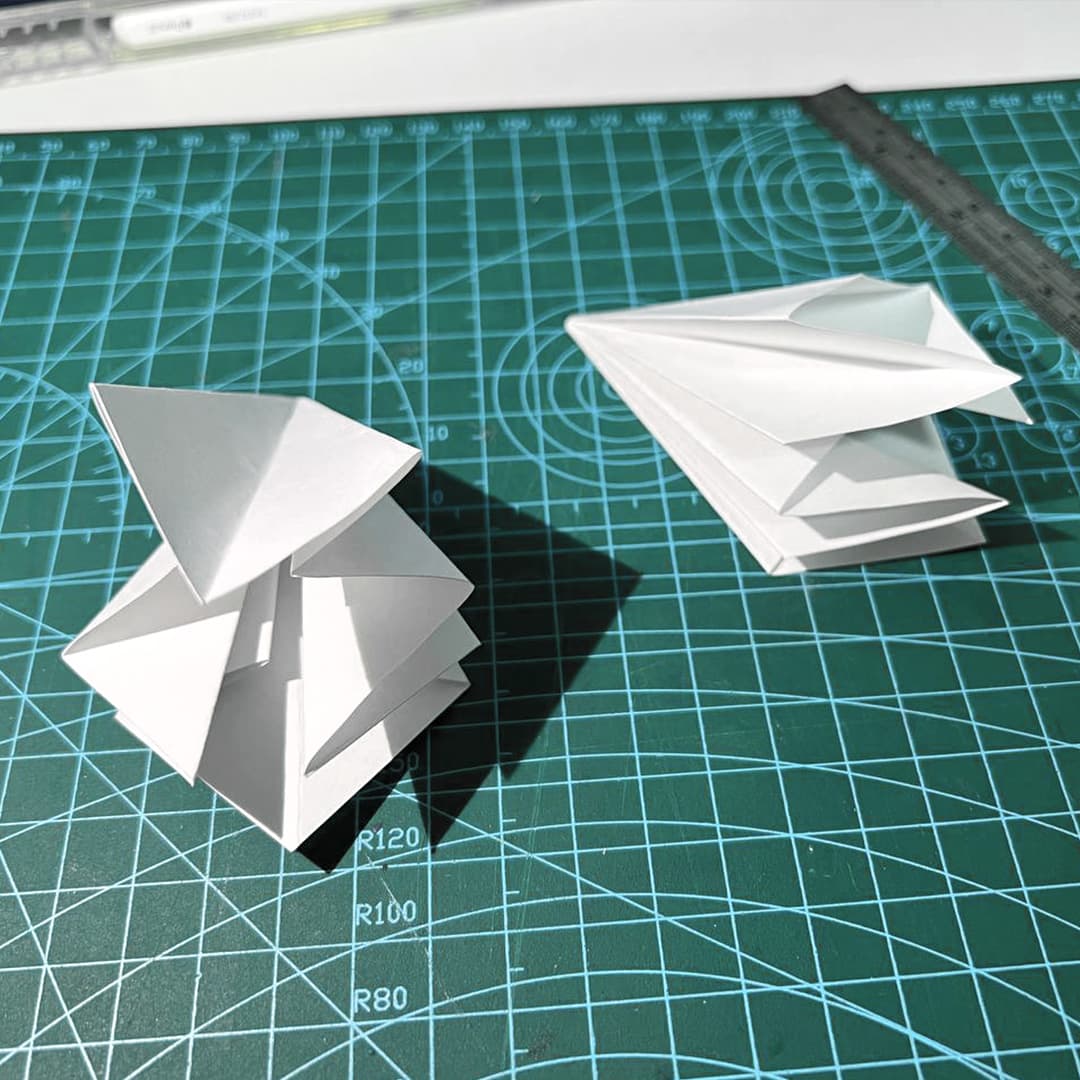
Hello, World! My Name is -900 is a creative coding prompt that turns a series of code written on p5.js into a 3D paper model.

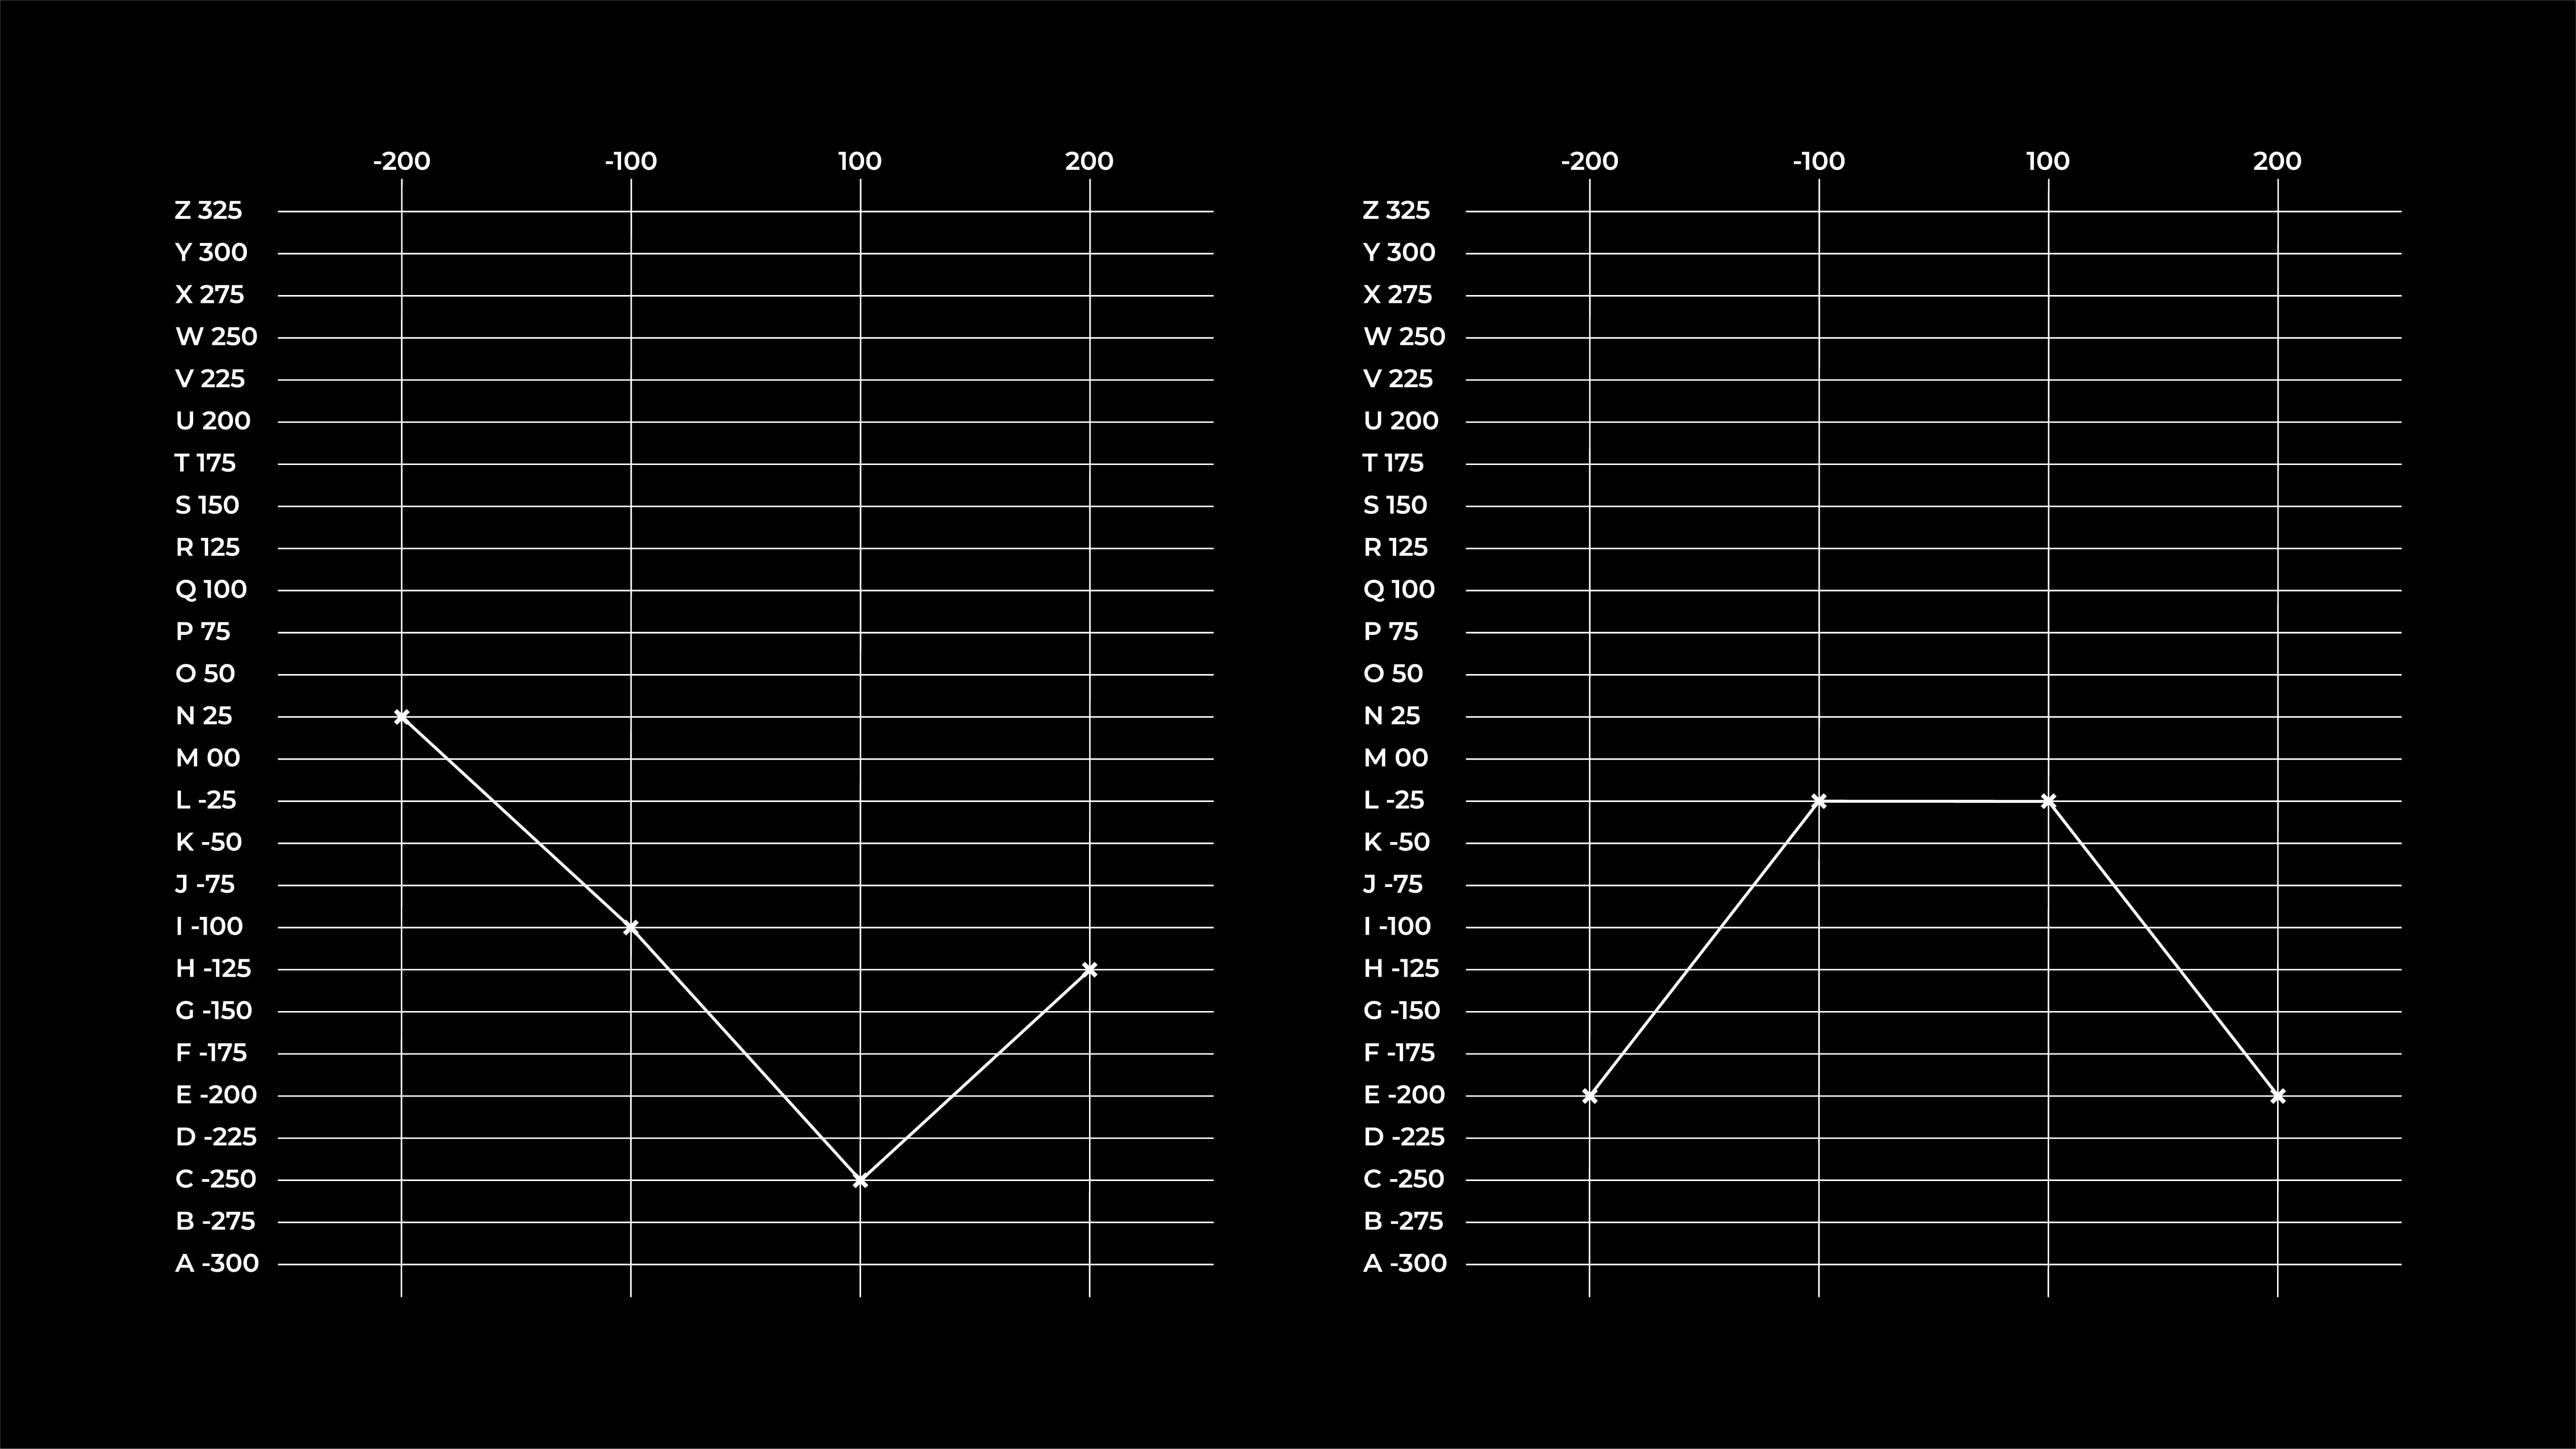
The coordinates of the polygon are derived from the letters in my name ’Nichelle’, with each letter taking a point. A graph was used to plot each letter down to get the values of the coordinates. After adding all the values up, it was -900.

Hello, world! My name is -900, what’s yours?


I thought of turning my name into a paper polygon because everyone’s name is unique to them (regardless whether you have the same name as others, it is still special). By creating a graph with each letter linked to a coordinate, everyone’s polygon will be uniquely different from each other. Names are something that we have been associated with since young and I was happy to turn text into something tangible. I showed my parents the paper polygon and they liked it!

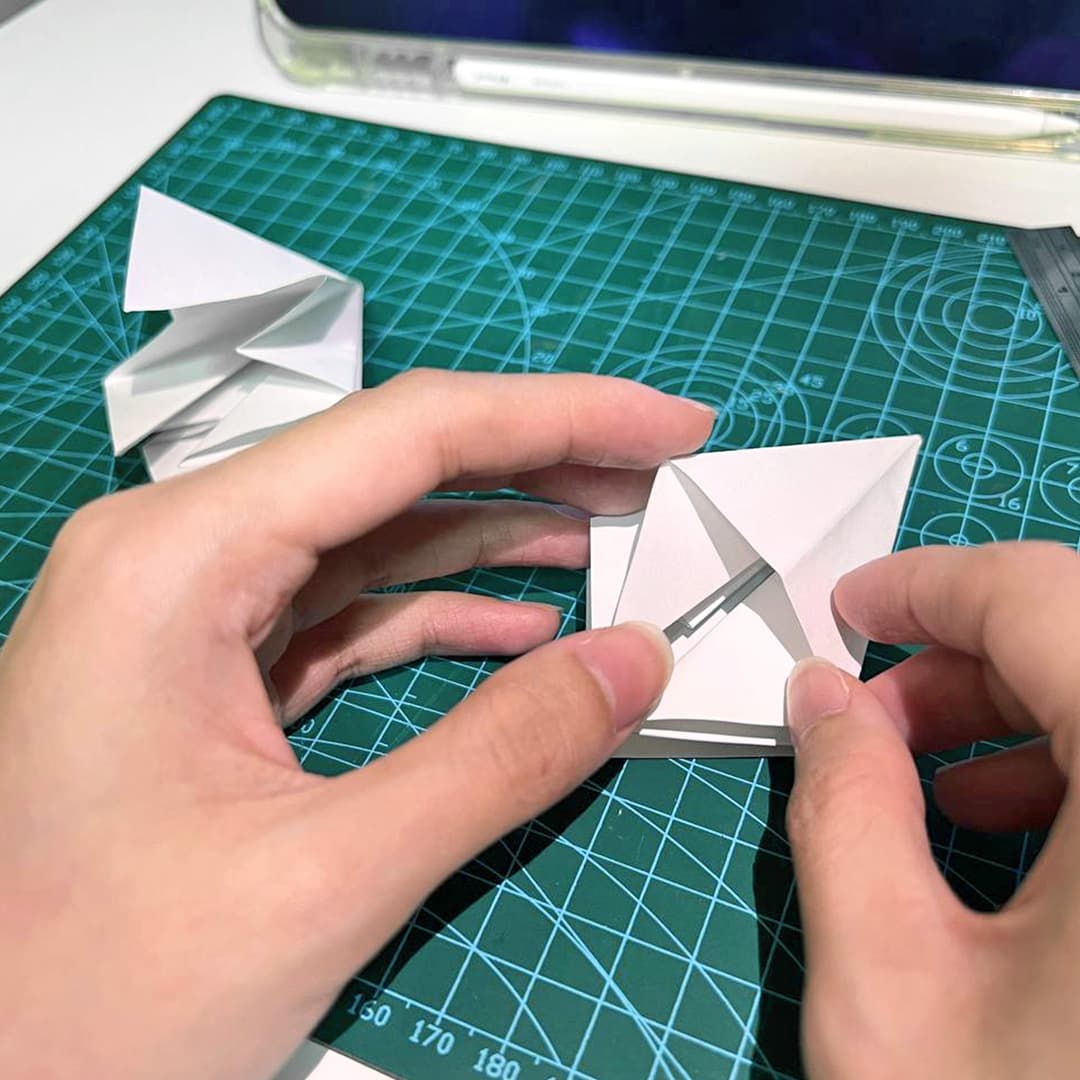
I was trying to be as meticulous as possible during the process of making. The workshop is to teach us the importance of craftsmanship and each fold and cut played an important role in the final product. I also went to RJ paper to find a material that was most suitable.

04 Play
This is halloween

This is halloween is a Tim Burton's The Nightmare Before Christmas inspired landscape through physical computation. The film was an inspiration because its scenes were mostly at night and it uses a lot of silhouettes like its iconic Spiral Hill.

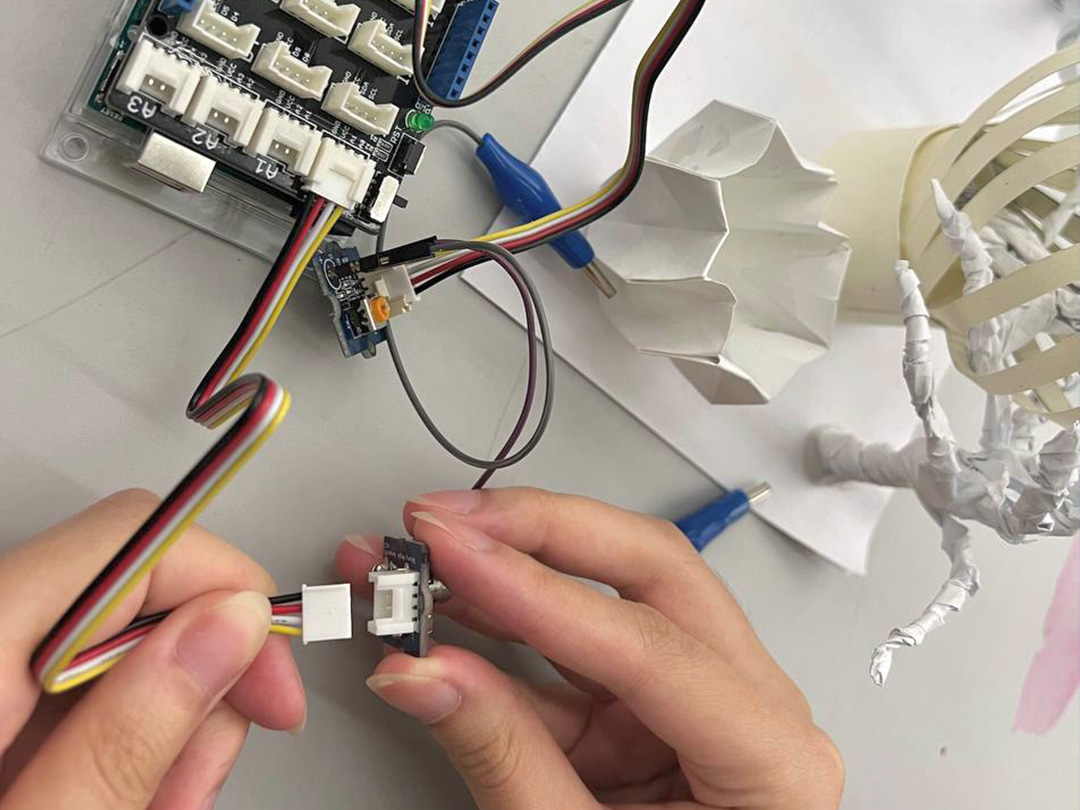
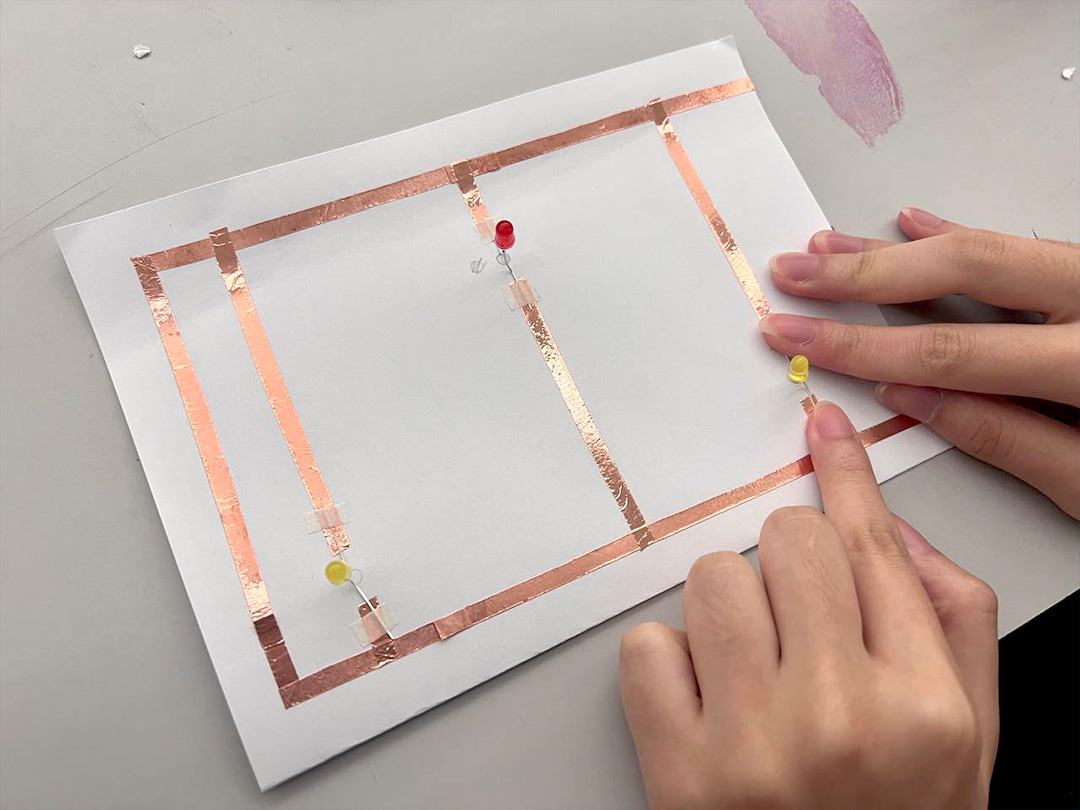
Using Papertronics and Arduino, my group came up with a circuit consisting of paper, a battery, an LED and copper tape to illuminate a paper object.

I was out sick for these two weeks but my group kept me updated and included throughout the workshops. They sent me pictures and videos and even discussed the theme with me. I am truly blessed to have friends like them! Due to the fact that I wasn’t able to be present the second week, it was hard to delegate roles.

I could not help out with the paper models (sorry :-(… ) as I would not be able to pass it to them. Hence, I was tasked to clean up on the other projects and strengthen it. I’m thankful to be included and assigned a task in this project although I know it was hard to think of something for me to do. (thank you again everyone!)

Process

Over the course of the semester I have worked with different techniques, materials and people. Working as a team was definitely different as compared to working individually. I learnt to compromised on things and think as a group instead. I was lucky to be able to work the same group throughout this semester so as each workshop passed, we start to understand and adapt better. The most challenging workshop for me has to be the coding one as we had to do most things from scratch whereas the other workshops we had templates and guides to follow.

Yet, the greater the effort, the sweeter the reward!

Conclusion

What have I learned over the course of this semester?

My biggest takeaway is learning how to use code in different ways and format. I never knew things like projection mapping were done using code so this was a real…

eye-opener.

(pun intended)

Some of my most interesting findings this semester are :

(Coding aside)… after the Making workshop, it was my first time exploring Blender. I always wanted to try making anything 3D but the thought of it was too intimidating. Learning how to make paper models on Blender was a great (and not scary) start and I did the same thing for the paper model for the Screens workshop. These gave me the boost I needed to work with Blender more and ta-da! the cover of this website was done using Blender!

Also, html was really interesting too, I wished we got to learn more tho but still amazing template to work with and it was easy to understand.

What are some of my achievements?

Definitely figuring out the code for the NFT. I was so horribly stuck at one point and did not know what to do. However with Andreas help, I managed to scrap the code that was confusing me and write a new code from scratch. I consider this a mega feat because just a few months back I could barely understand what was function setup and function draw. Code works amazing now and I’m so happy!